Upgrading Your Project in Studio
Overview
Bizagi generates new versions periodically which include important improvements along with great new features, as described at Bizagi versions.
We strongly recommend that you upgrade your projects to the newest release so that you can enjoy all the benefits of new Bizagi features, enhancements, major improvements, and bug fixes (maintenance).
This section details how to carry out a software upgrade of your Bizagi version.
This procedure is applicable only when upgrading to the newest minor version (while in the same major release).
Note:
You must upgrade to this release from a Bizagi project already using version 11.2.0 or higher.
If you have a lower version, please contact Support.
This article describes how to upgrade your project in a development environment (through Bizagi Studio).
If you already have an operating testing and production environment, then you will need to upgrade those environments as well eventually.
It is recommended that you upgrade other environments after having upgraded the development environment and ensured that your implementation behaves as expected.
Procedure
To upgrade your project to the newest release, first upgrade your Bizagi Studio installation.
If the project is configured for multiple users (in a teamwork collaboration setup), perform the Bizagi Studio and project upgrade in the central development Bizagi Server where the project is hosted.
Note:
If your project was created using Windows Authentication, ensure that your user has the same permissions explained in Creating a project using Windows Authentication.
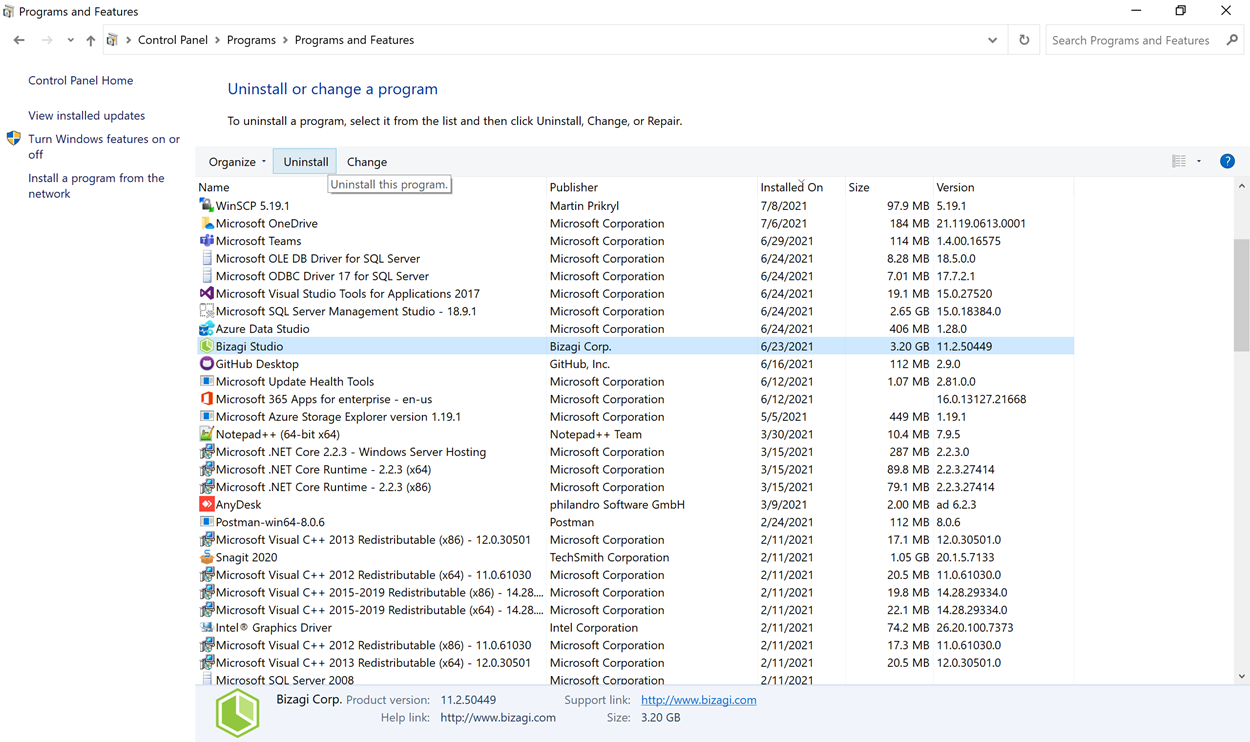
1. Uninstall Bizagi Studio
Use your computer's control panel to uninstall Bizagi Studio:
At this point, your server may ask for a reboot.
2. Download and Install the Newest Version of Bizagi Studio
After the upgrade completes, reboot the server.
3. Upgrade Your Development Environment Project
-
Open Bizagi Studio and open the project.
Select it from the list of projects displayed in the window: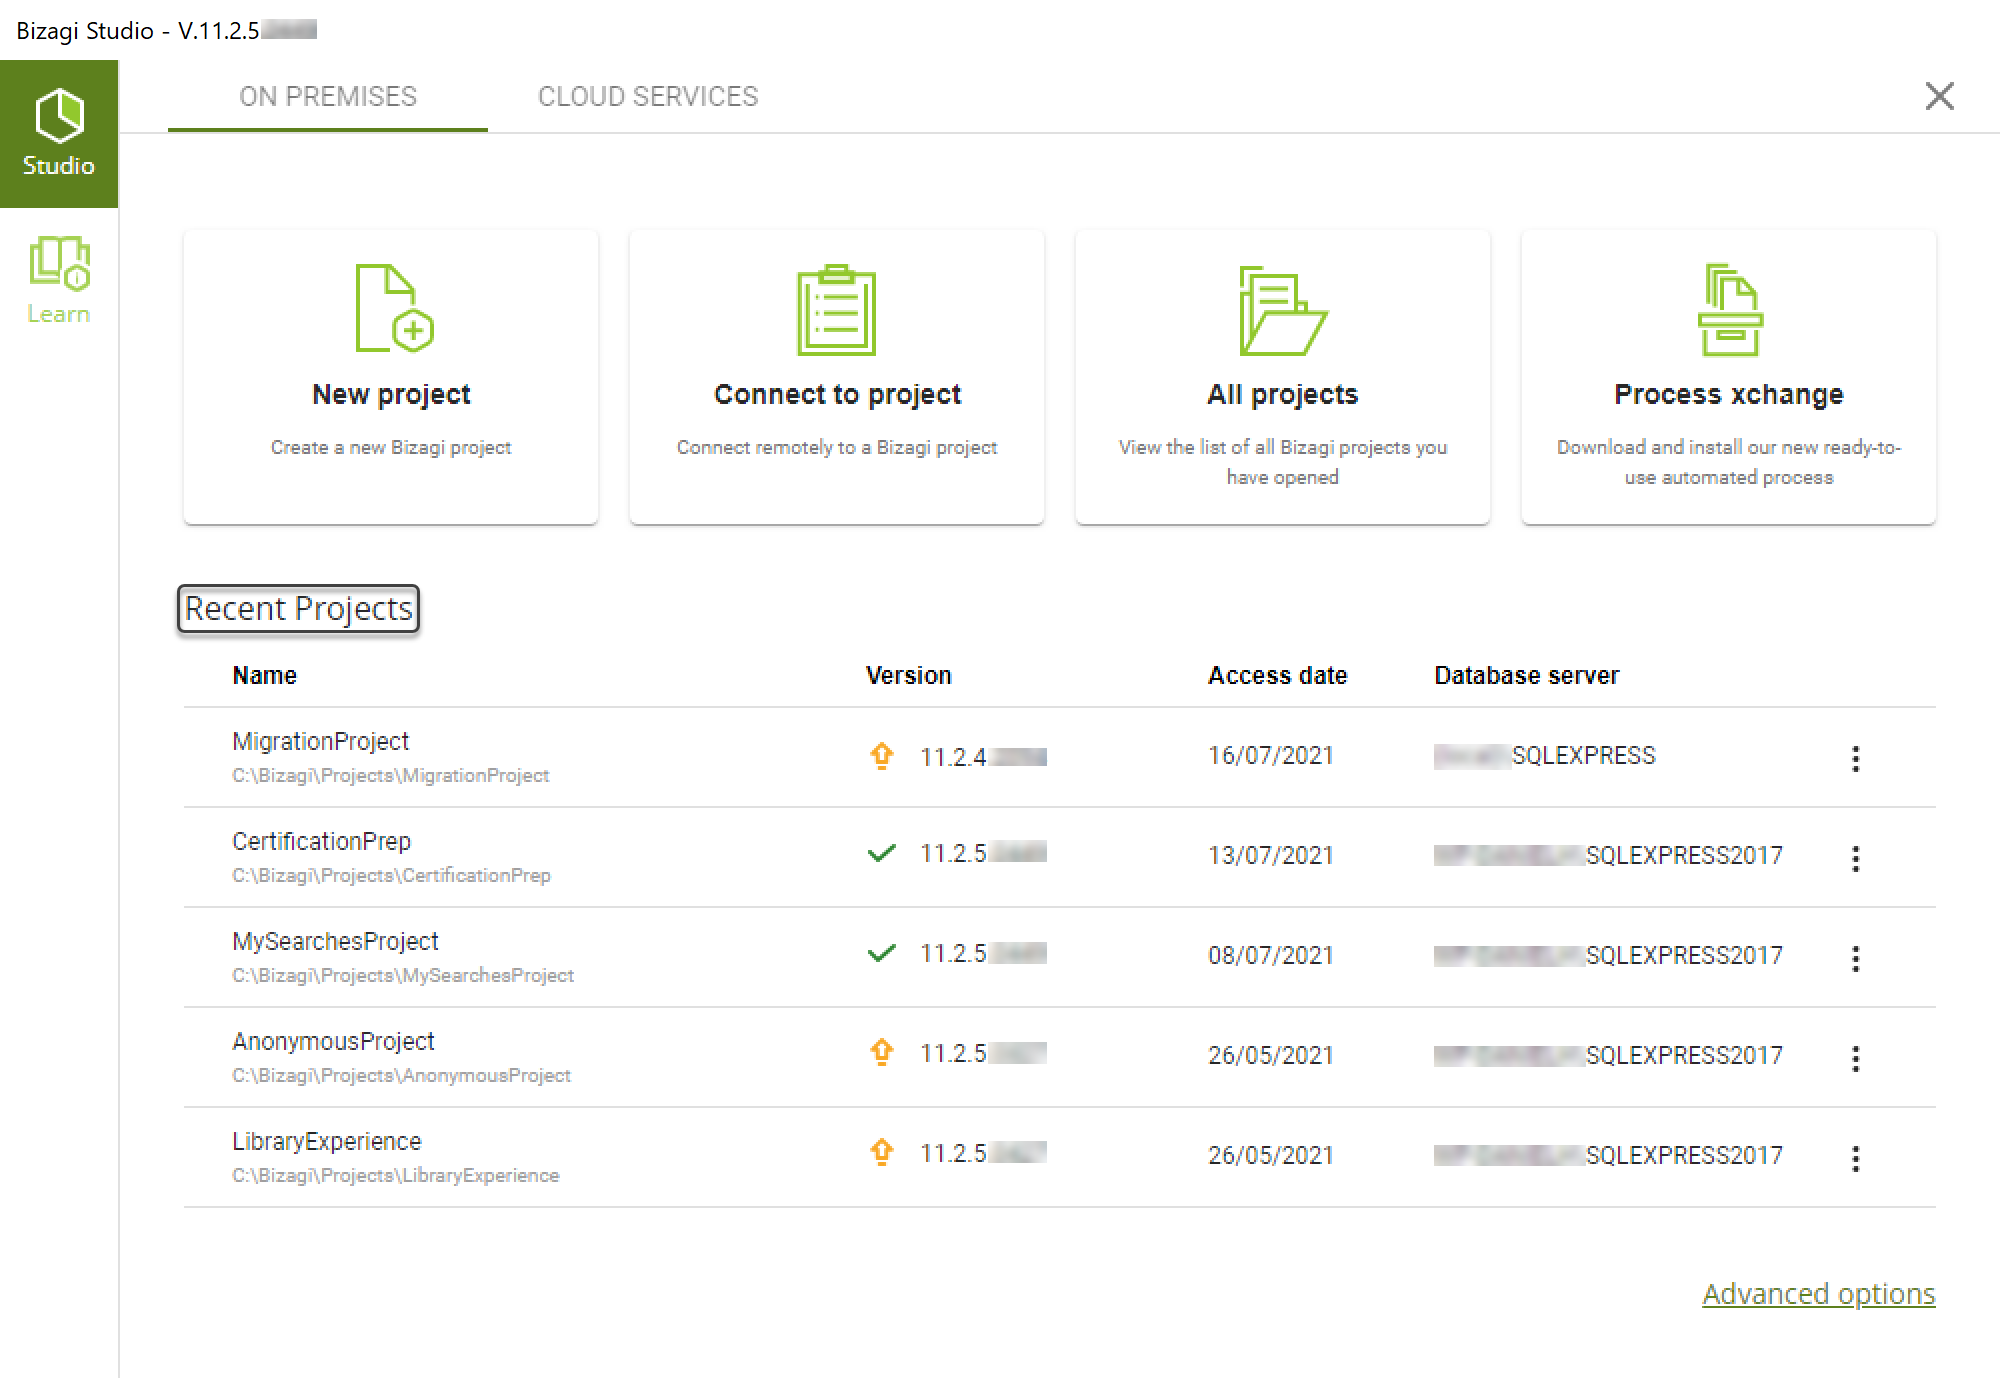
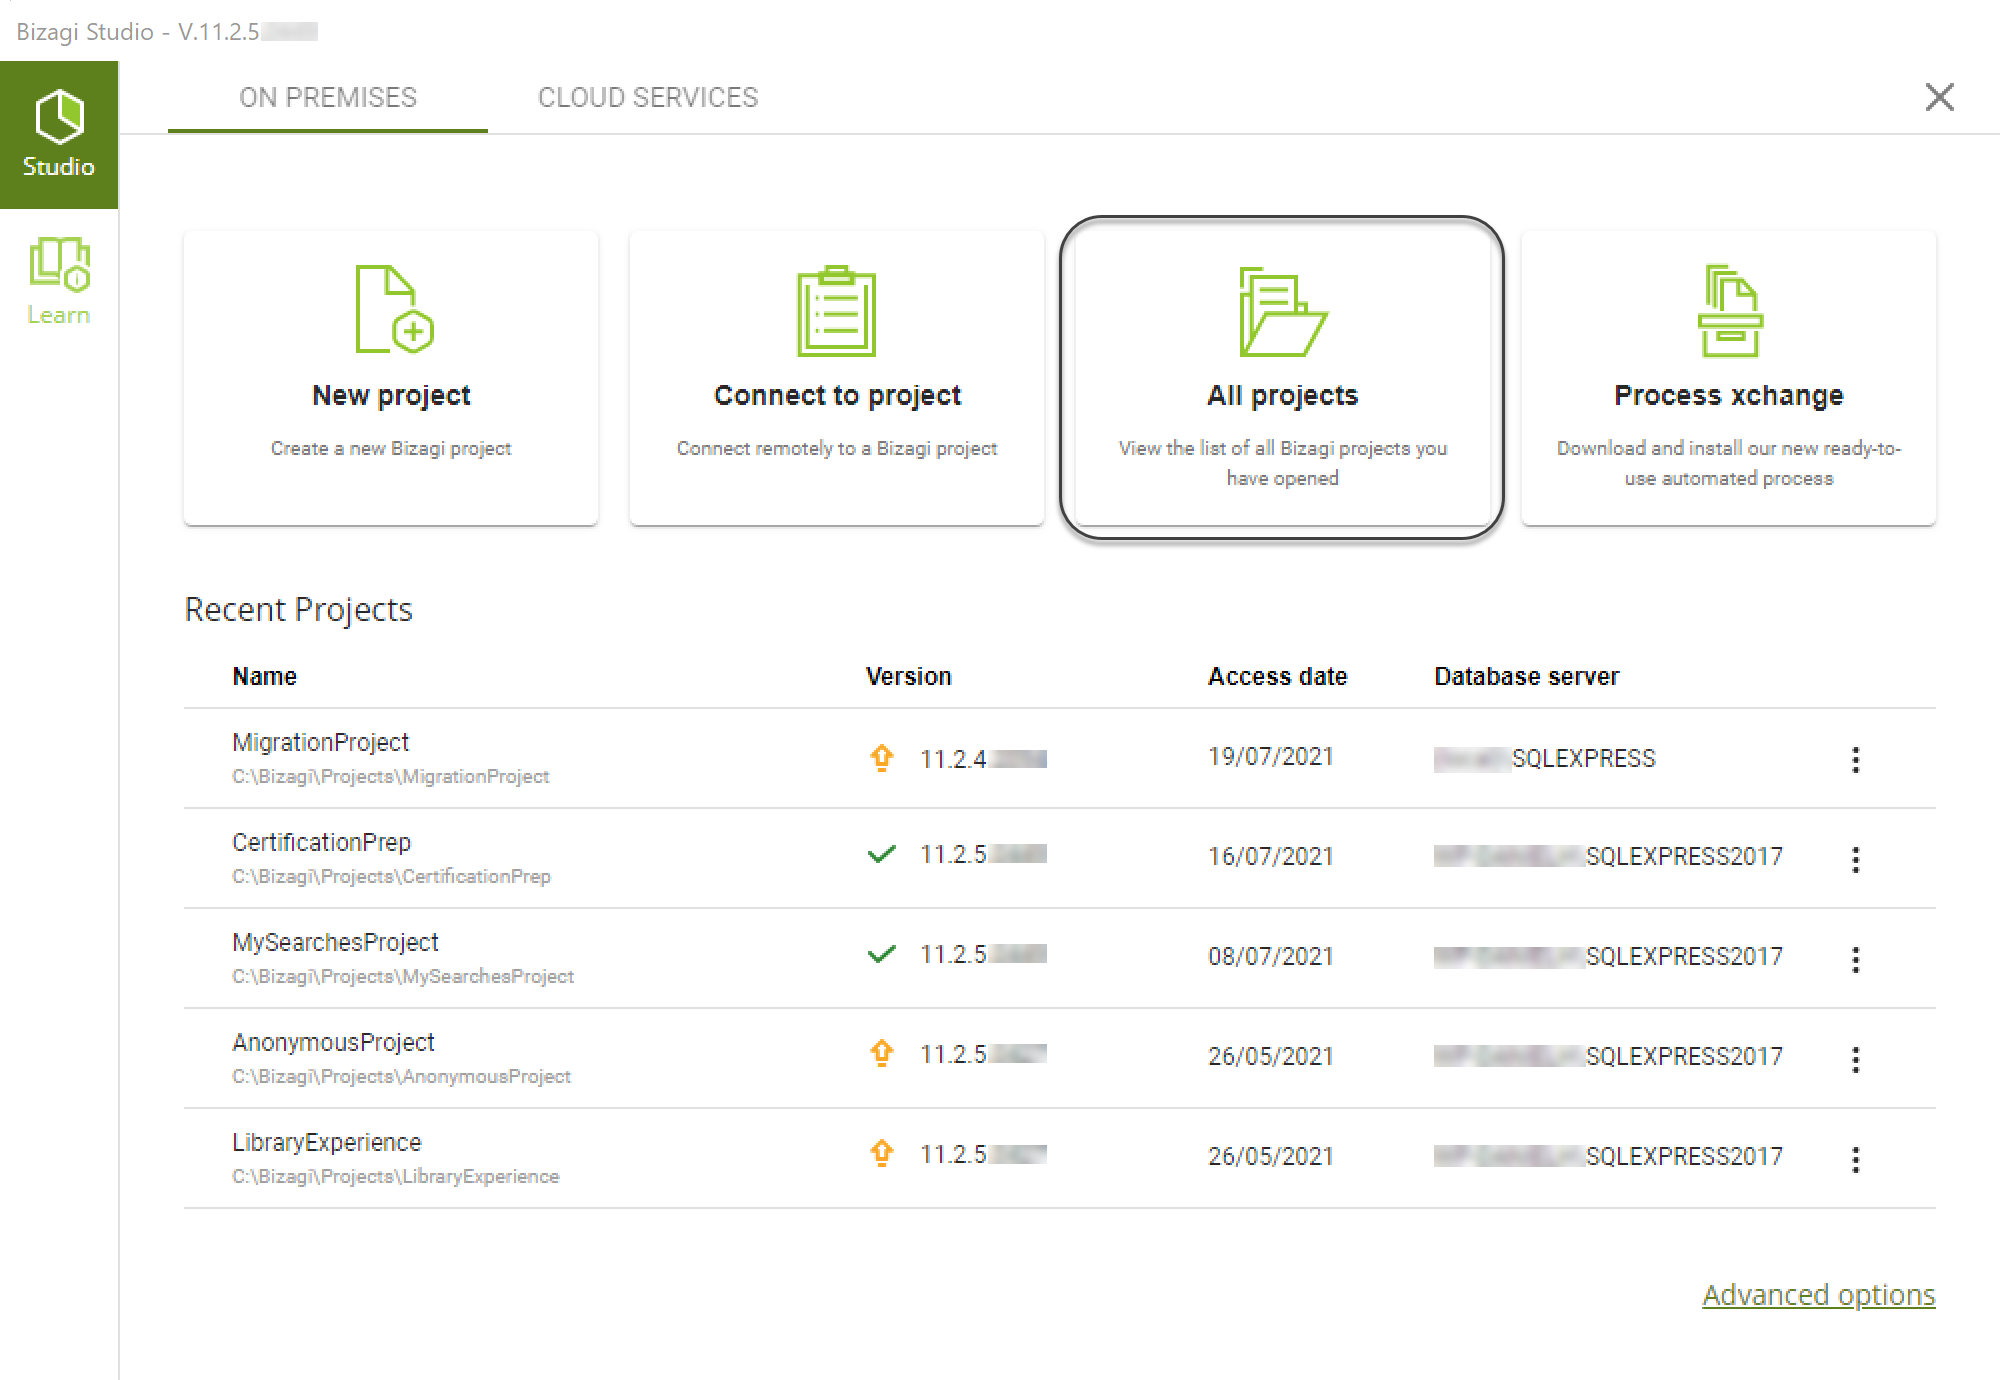
If the project is not listed, select the All Projects option:
-
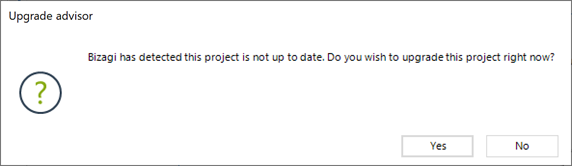
Confirm by clicking Yes when prompted about the project's upgrade.
Coordinate with team members and alert them in advance that you will be upgrading the project.
This ensures no other team member is currently working on the project or has Bizagi Studio opened. -
When the upgrade is finished, your project opens in Bizagi Studio.
At this point, your project has been upgraded to the new version.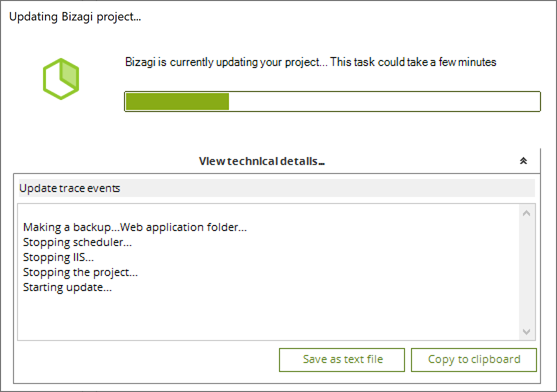
-
Have all team members upgrade their Bizagi Studio installation.
At this point, you may proceed to run tests on the processes you have implemented in the development environment.
Review the .NET Framework
Bizagi uses a .NET framework, as mentioned in the Bizagi Studio system requirements. After upgrading, you can change the framework in the web.config file.
To do so, go to the project folder, usually located at: C:\Bizagi\Projects\ [ProjectName]\WebApplication
Open the web.config file, and within the system.web node, find the following tag:
Make sure that the target framework is the same mentioned in the system requirements.