Customize Case Numbers
Overview
Bizagi presents process instances as cases to end users.
By default, Bizagi maintains and assigns an internal sequence for the numbering on cases, and presents it as the Case Number of each newly created case.
This, of course, avoids duplicity and conflicts between cases while ensuring that each one is uniquely identified.
You may override this above sequence so that the numbering that is presented can be customized according to your needs. When using sequences, we strongly recommend also using prefixes to avoid duplicity in case numbering. You can define that these identifiers are grouped for all or some of your processes, in which case Bizagi allows you to define a customized sequence, with prefixes and suffixes.
Case Numbering Configuration Options
To customize your Case Numbers, Bizagi offers two options:
- By Sequences: You can define a sequence and customize a prefix and a suffix. A sequence is a counter incremented by a value defined by you each time a case is created.
- By Rules: You can define the Case Number through an Expression, where you can perform calculations or validations and thus provide a more sophisticated definition.
Note:
Case Number is the number displayed to the end user in the Work Portal. However, Bizagi assigns an independent and automatically generated identifier for each case for internal numbering. The Bizagi internal numbering is known as the Case Id. The customized numbering is the Case Number.
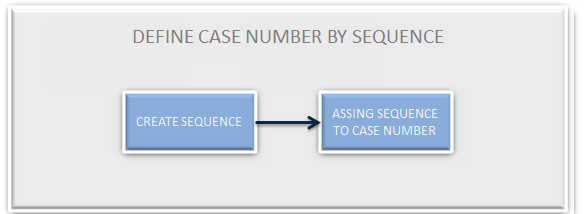
Defining Case Numbers by Sequence
To define Case Numbers by sequence, you must create one sequence and then assign it to a specified Application or Process.
Steps to Define Case Numbers by Sequence
-
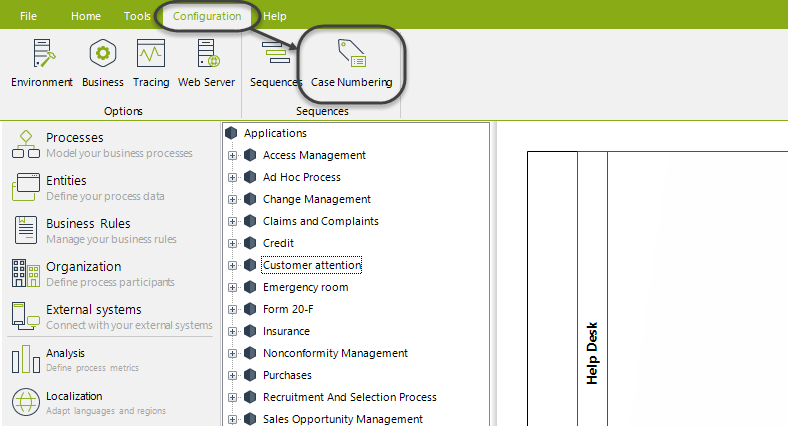
Go to the Expert View: Open the Configuration tab and click Sequences.

-
Add a New Sequence:
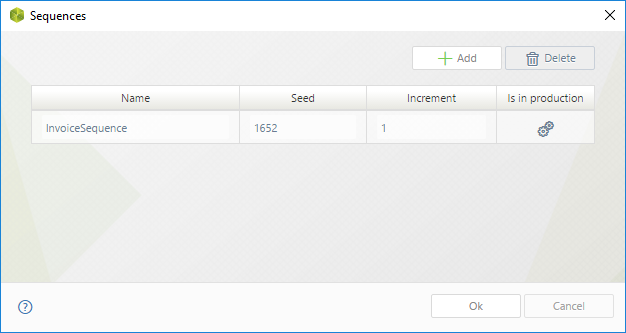
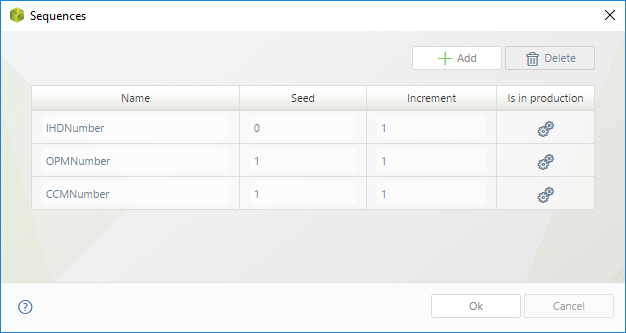
In the new window, click Add to include a new sequence.

- Enter a Name that describes the sequence. Avoid special characters such as spaces, accent marks, or symbols.
- Define a Seed, corresponding to the initial value of the sequence. It must be numeric.
- Define the Increment, which increments the seed by a numeric value.
- The Is in production column indicates whether the sequence has already been deployed (to test or production) or is still in development.
Example:
Initial value (Seed): 1652
Increment: 1Click OK to save changes.
Assign the Sequence to a Process:
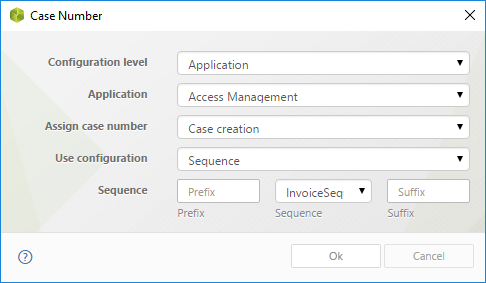
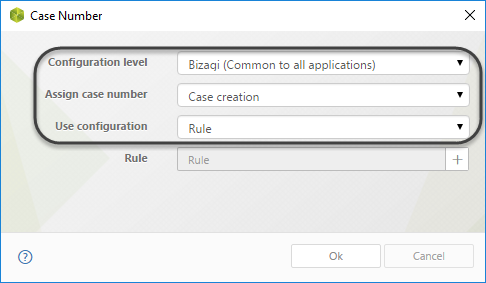
Go to the Expert View, open the Configuration tab, and click Case Numbering.
•Configuration Level: defines if the customized Case Number will be applied to all the Applications: Bizagi (common to all applications) which is applied to all the project, or to a specific Application.
•Application: this field will be available when Application is selected for the Configuration Level. It defines the specific application that the Case Number will affect.
•Assign the Case Number at: defines the moment in the Case life when the Case Number is set. It can be at the Case Creation or at the End of creation phase. This is useful when the creation phase consists of more than one activity.
•Use Configuration: defines the way the Case Number is established. It can be Default (defined by Bizagi), By sequence (it is obtained from a user-defined sequence) or By rule (it is obtained by an Expression).
•Number Configuration: this field only applies when By Sequence or By Rule is selected in the Use Configuration field. It allows you to define a prefix, the related sequence and a suffix for the Case number.
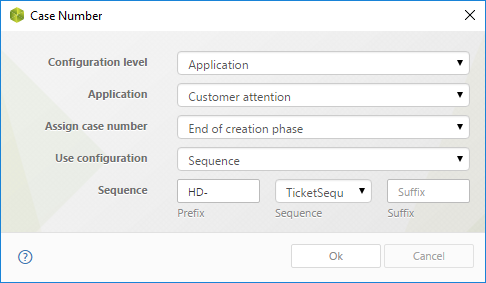
Example configuration:
- Configuration Level: Application. The Case Number will only apply to a specific Application.
- Application: Customer attention (Invoice Generation Application).
- Use Configuration: By sequence.
- Assign the Case Number at: End of creation phase.
- Number Configuration: Use a prefix (e.g., "HD-") but leave the suffix blank. Select the previously created sequence ("Ticket Sequence").
Click OK to save changes.
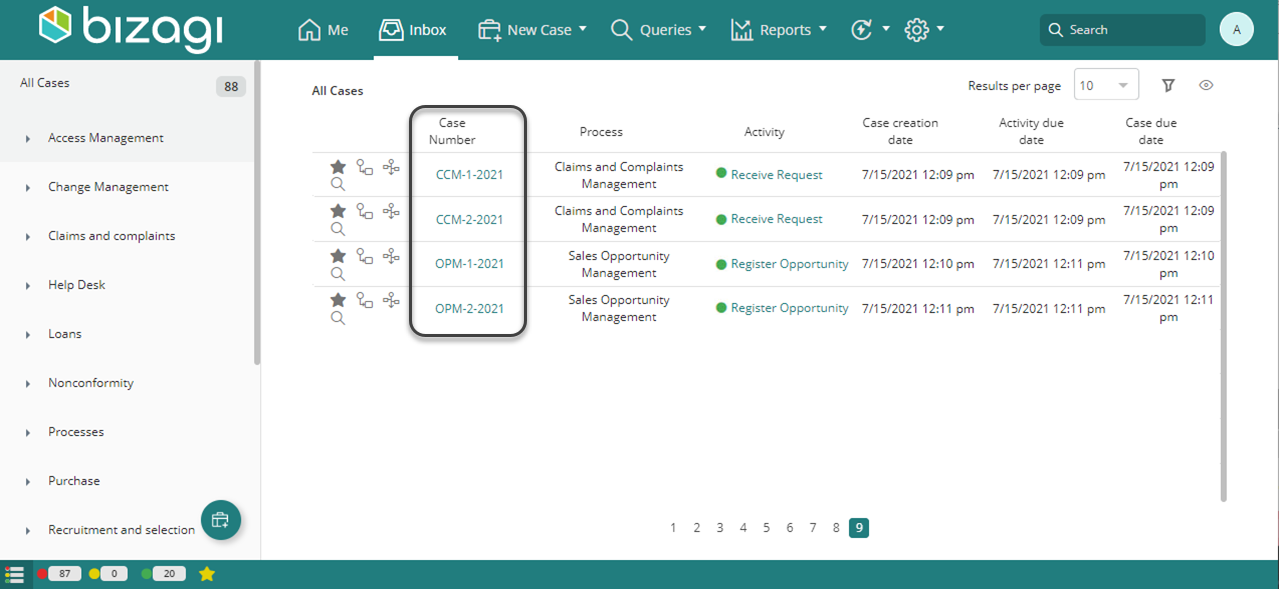
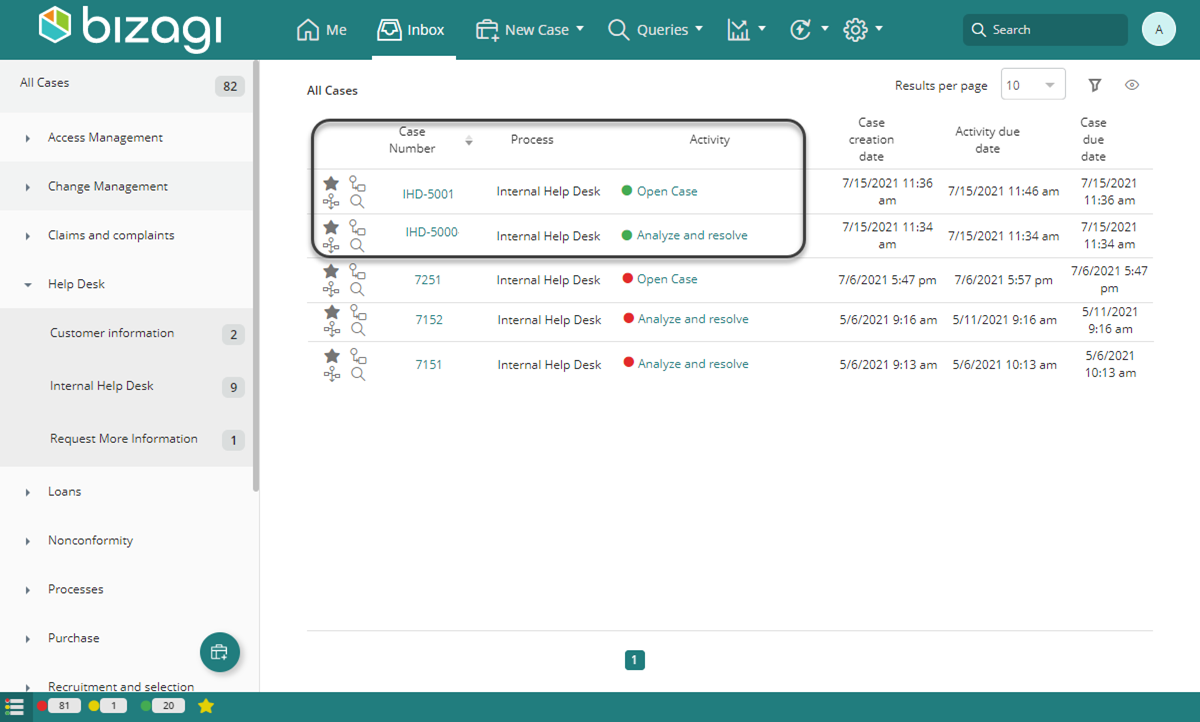
The Case Number for the Invoice Generation Process has been created. In the Work Portal, tasks of this process will appear as follows:
Defining Case Numbers by Rule
When your customized Case Number requires a more complex procedure, you can use Expressions.
Example:
Suppose your company manages three different processes across Applications:
- Internal Help Desk:
IHD – Sequence – Year - Claims and Complaints Management:
CCM – Sequence – Year - Opportunity Management:
OPM – Sequence – Year
Steps to Define Case Numbers by Rule
-
Define Sequences:
Go to the Sequences menu and define three sequences, starting at 1 and incrementing by 1.
-
Create a Custom Rule:
Go to the Case Numbering menu and configure:- Configuration Level: Bizagi (always evaluated).
- Assign the Case Number at: Case Creation.
- Use Configuration: By Rule.
-
Define the Rule Expression:
Click the square on the right to define a new Expression.
 In the Expression editor include the following code:
 Example code:
// Obtain the current year
year = DateTime.Today.Year;

// Identify the process by its name
if (Me.Case.ProcessDefinition.Name == "InternalHelpDesk") {
  "IHD - " + CHelper.GetNextSeqValueStr("IHDNumber") + " - " + year;
} else if (Me.Case.ProcessDefinition.Name == "PQRS") {
  "CCM - " + CHelper.GetNextSeqValueStr("CCMNumber") + " - " + year;
} else if (Me.Case.ProcessDefinition.Name == "OpportunityManagement") {
  "OPM - " + CHelper.GetNextSeqValueStr("OPMNumber") + " - " + year;
}
Bear in mind that the process name is displayed in the process version properties. From the expert > processes view.
The above rule obtains the current year, then identifies the process that is being created, and according to it defines the case number in the desired format. The case identifiers will be displayed as follows in the Work Portal.