Decision Tables
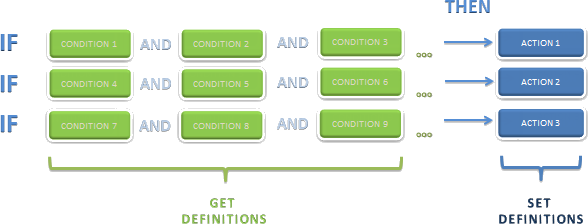
Decision tables allow defining which actions to perform for each value or combination of values of one or more definitions.
A great advantage of this concept is that decision tables are highly parametrized, providing agility when dealing with changing business conditions.
The GET and SET type definitions (Vocabulary) are dragged to the table header, once all the vocabulary to be used has been created.
Procedure to Create Decision Tables:
-
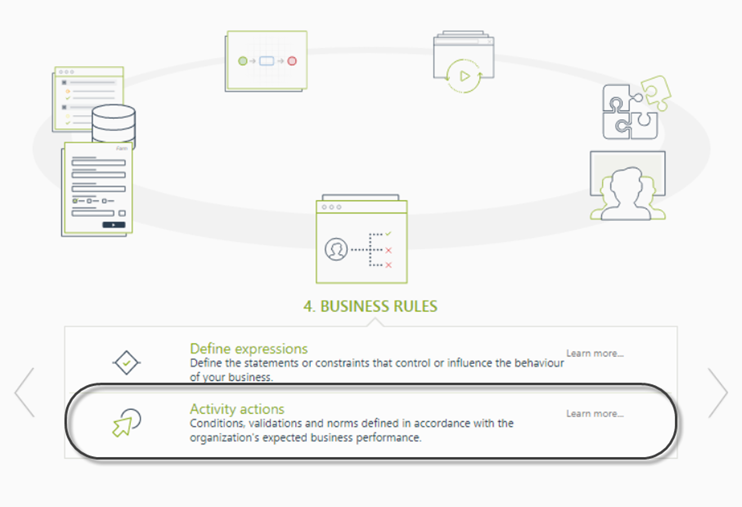
Go to the fourth step of the Bizagi Process Wizard and select Activity Actions.
-
Click the shape where the policy is to be created and select On Enter, On Save, or On Exit to create the policy.
Select the Policy item.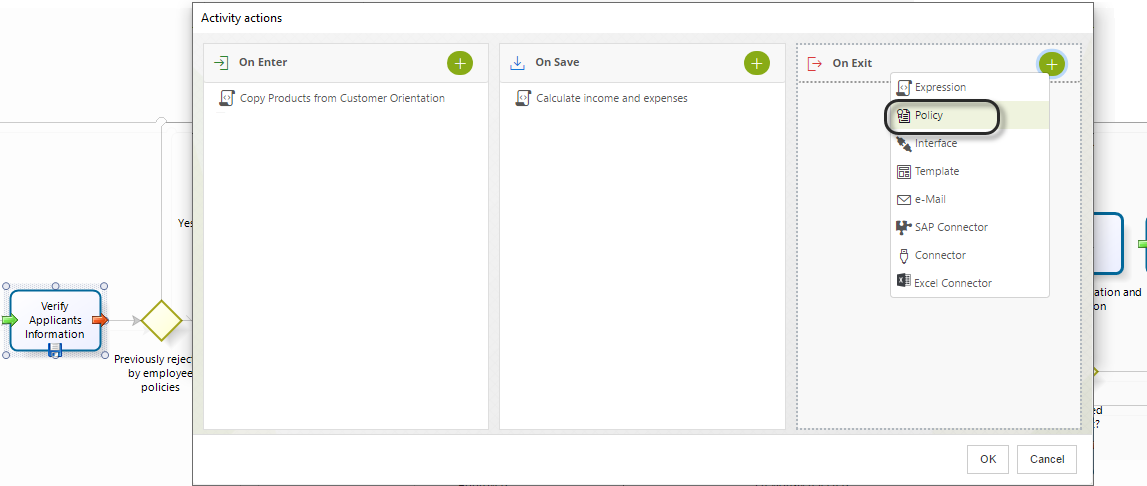
-
Click New on the upper left corner. In the new window, enter a name, display name, and description for the policy.
Click OK.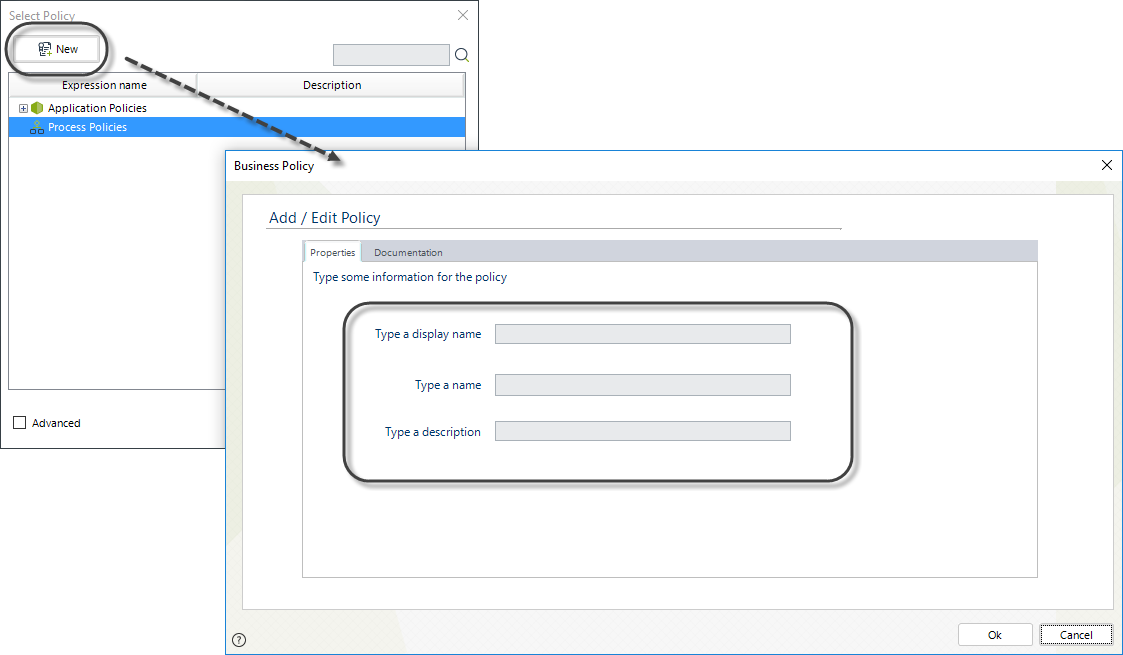
-
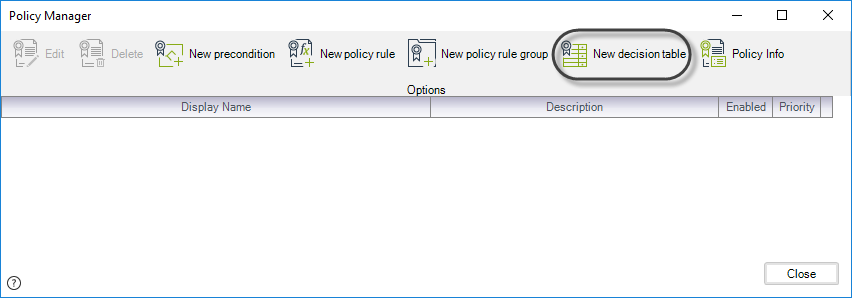
In the Policy Manager, select New Decision Table.
-
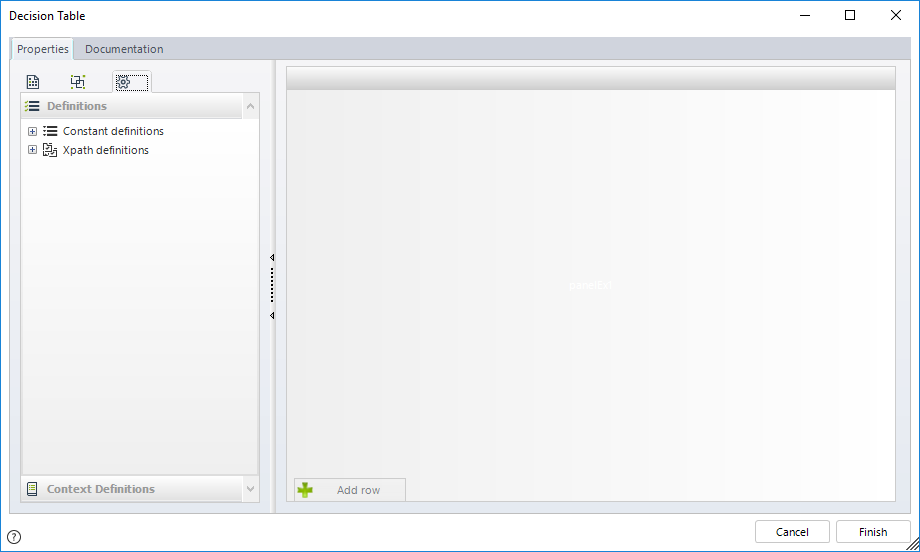
A window will open where the user can create and edit Decision Tables.
-
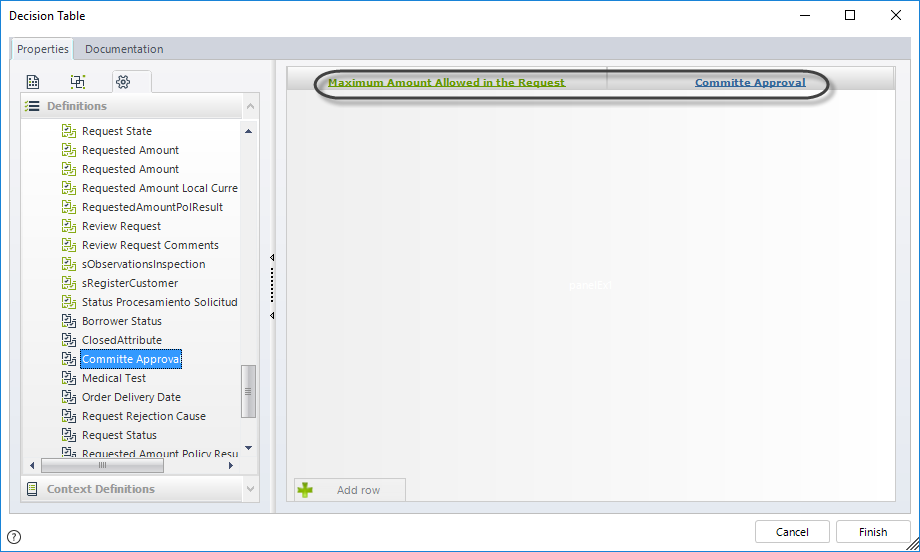
Drag definitions, context definitions, or library functions to the Conditions box. Each definition will be displayed as a column and will retain the green color of GET definitions and the blue color of SET definitions. You need to specify at least one GET and one SET definition.
-
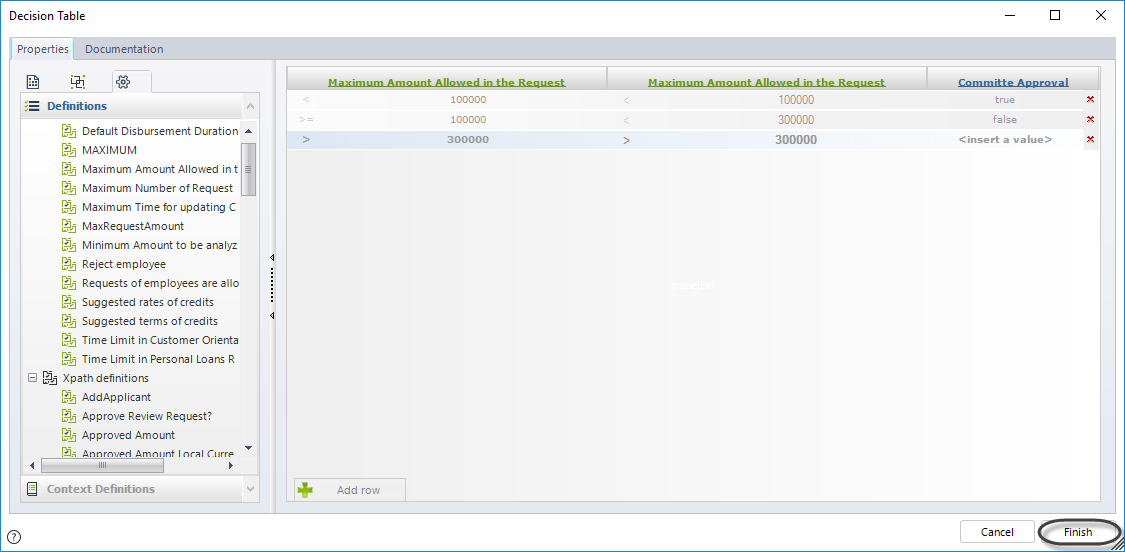
Click the Add Row button to include values for each column. Double-click a specified cell to enter a value. The values entered in SET definition cells will be the resulting action of a TRUE evaluation of the condition.
Include as many rows as per your requirement.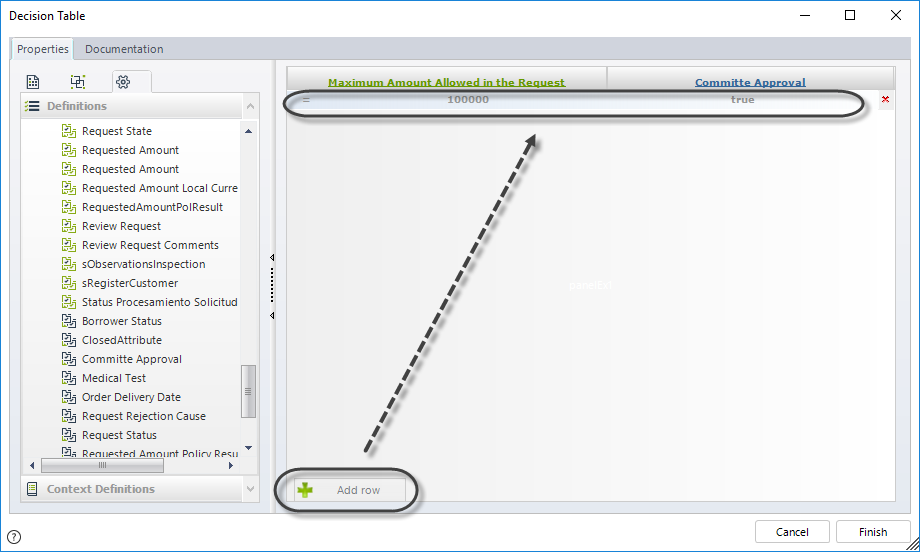
Note
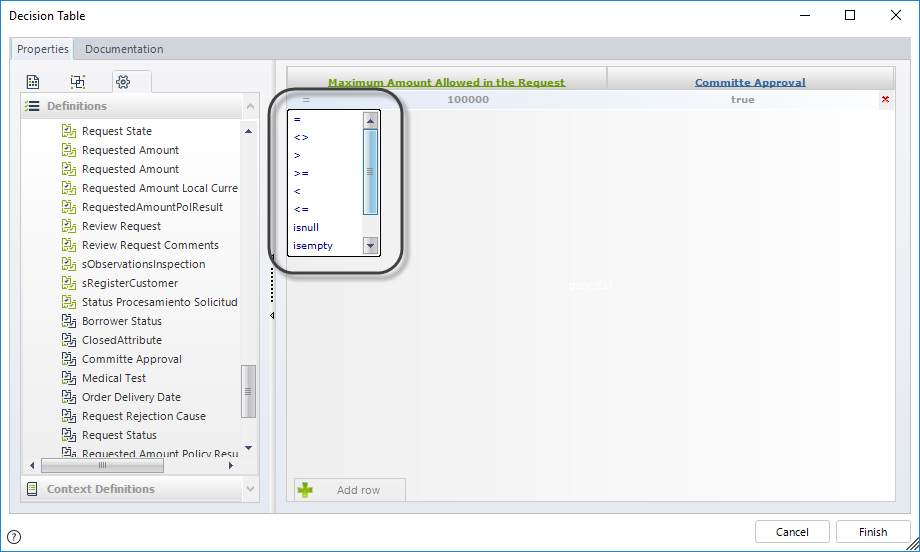
The values that are used to build the condition (the green part) will automatically adjust to the Vocabulary type; for instance, the permitted values will be integer numbers when the definition has been generated from an integer field in the database. The permitted values will be text when the definition has been generated from a string field in the database.You can change the condition operator by clicking on it. A list of operators will be displayed.
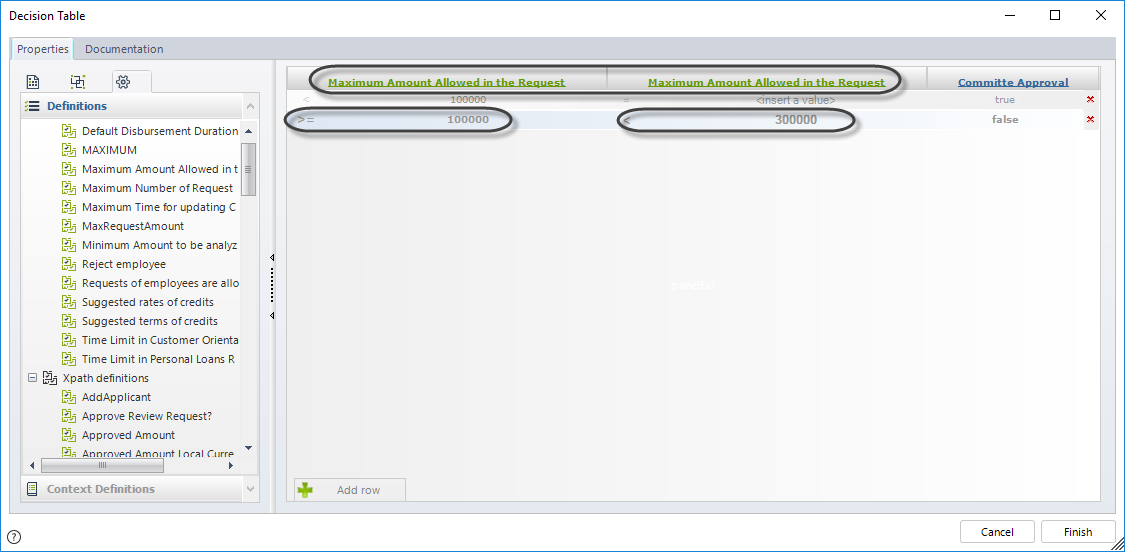
If you wish to define a "Between" operator, you must define the same column twice and insert the required operators for each value.
When all the necessary rows have been included, click Finish.
-
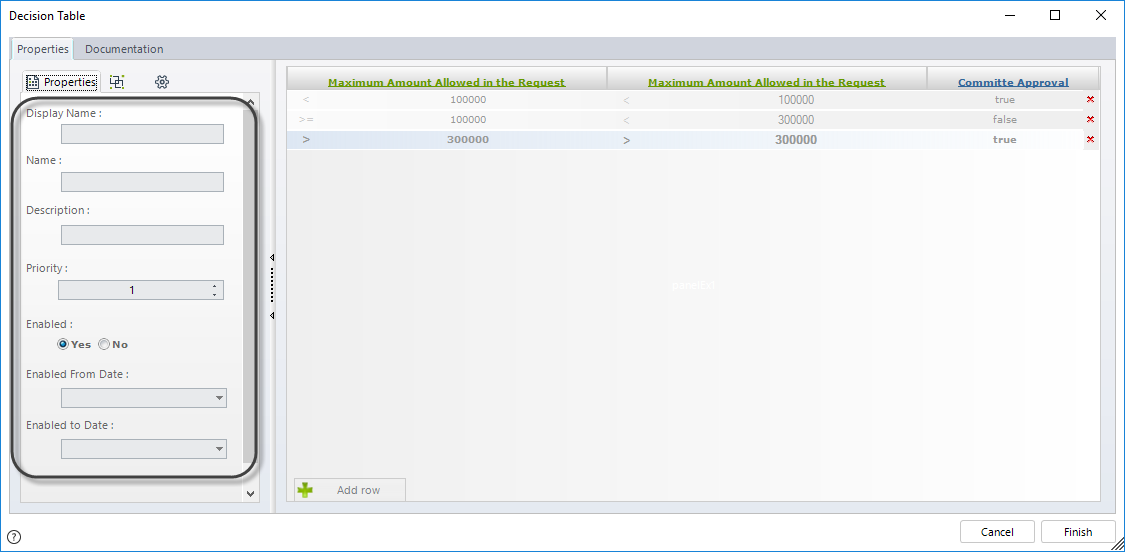
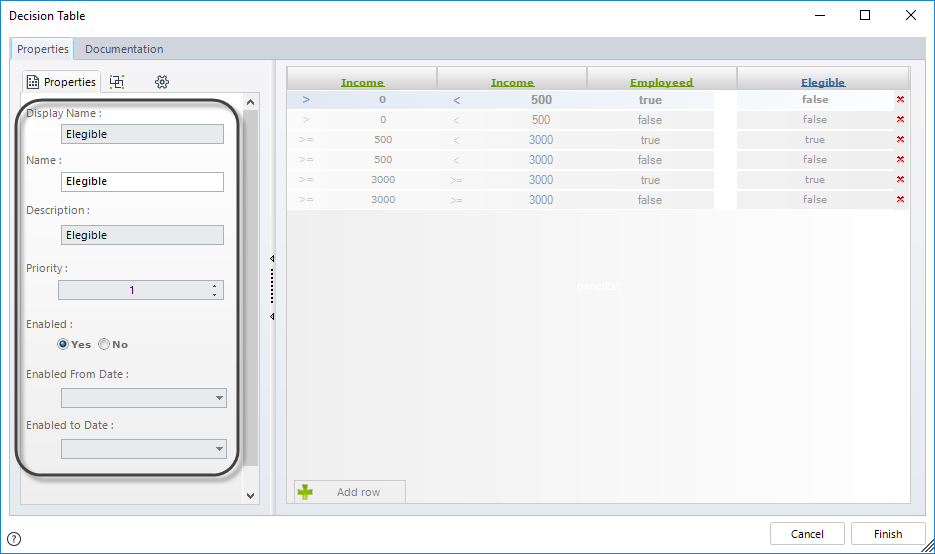
You will be prompted to include the requested information for the new Decision Table:
- Name: This is the name of the Decision Table in the database. Once saved, it cannot be modified.
- Display Name: This is the display name of the Decision Table. You can change it anytime.
- Description: Include information to describe the policy.
- Priority: Establishes the relevance with which the Decision Table must be executed.
- Enabled: Defines if the Decision Table is enabled or disabled.
- Enabled From Date: The Decision Table can be enabled for a specified period of time. This is the From date of that specific period.
- Enabled To Date: The Decision Table can be enabled for a specified period of time. This is the To date of that specific period.
Example
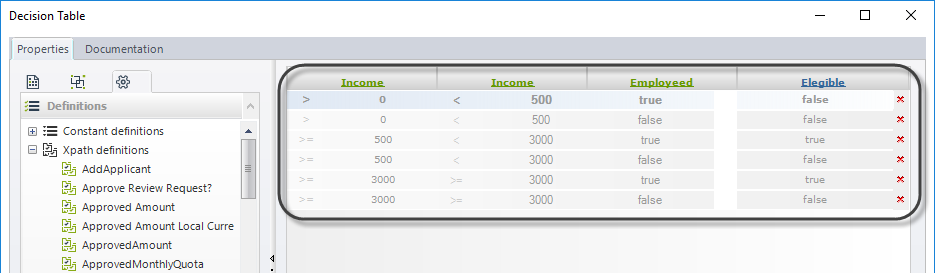
Imagine you work in a bank. The bank has set policies on the amount a client can request in loan products based on his or her income and employee status. The conditions are listed below:
- If their income is less than US$500, the client will not be eligible.
- If their income is between US$500 and US$3,000, eligibility depends on the employee status.
- If the income is greater than US$3,000, the client is always eligible.
Decision Table Representation:

Steps to Configure the Decision Table:
-
Go to the fourth step of the Bizagi Process Wizard and select Activity Actions.
Click the shape where the policy is to be created and select On Enter, On Save, or On Exit to create the policy.
Select the Policy item. -
In the Policy Manager, select New Decision Table.
-
A window will open where the user can create and edit the Decision Tables.
-
Drag and drop the definitions to be evaluated from the list in the work area to create the columns of the table.
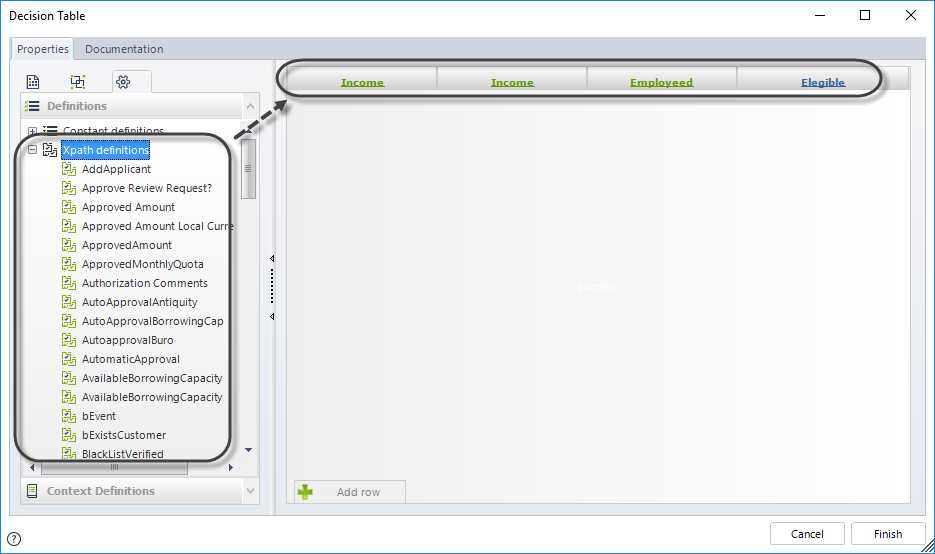
-
Include the rows and values for each column.
-
When done, click Finish. When prompted, define a name, display name, and description for the new Decision Table.
The Decision Table has been created.