Using advanced Replication configuration
Overview
Bizagi presents a Replication Wizard which will assist the configuration to connect to an external SQL Server database (and automatically create any necessary components).
However, for more sophisticated scenarios, you may want to use the Advanced Configuration, which is an alternative way to set Replication in your project.
Such scenarios involve mainly:
- The use of a data source using Custom Replication.
- The requirement for advanced configuration.
- The need to manually adjust the configuration. This may happen in sophisticated scenarios where you have a whole set of tables which are related to each other. This may involve relationships with virtual entities, and therefore this configuration requires that all of these tables are replicated and virtualized with some considerations.
The following article illustrates how to set Replication in Bizagi by using the Advanced configuration options.
If you wish to view further detail and an example about replicating a MySQL, refer to Customizing Replication.
Using the Advanced configuration options
In order to set Replication through the Advanced configuration, make sure that you have already created the necessary Parameter Entities and their attributes (to store the incoming values from the external data source).
For further information about creating entities in Bizagi, refer to the Creating your data model article.
Notice that the entities created in Bizagi should have a similar data structure to those in the external data source (for example, the corresponding data types to store the columns' values of the external tables).
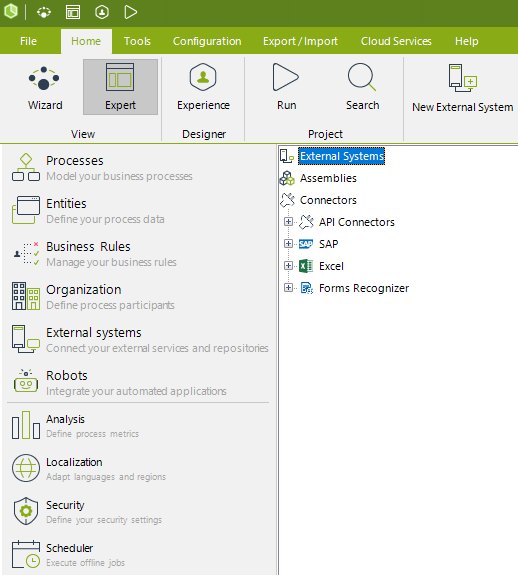
To use the Advanced configuration for Replication, go to the External systems module view in Bizagi Studio.
What you need to do
Configuring Replication through the Advanced options is done by:
-
Creating the entities in Bizagi with their attributes to match data at the source
This is done through Data modeling. -
Defining an External System
Define the information for the system where the external data source is found. -
Defining a Data Provider
Specify details for the Data Provider (the connection information to the external data source). -
Registering the Replication class (the component having the implementation)
We need to explicitly define if we will be using a custom implementation. -
Defining a Replication Schedule
Specify a scheduled job which will execute the Replication's synchronization. -
Including Parameter Entities for the Replication
Include one by one, each of the Parameter Entities to be replicated for this connection (Data Provider) and given Replication Schema. -
Matching attributes in Bizagi to the sources' columns
Map each of the attributes in the replicated entity to correspond to a column at the source. -
Using additional configuration options
Finally, there is the possibility to use additional options for each replicated entity set, such as: Defining filters for records incoming from the external table, indicating if an attribute (column) of those entities will be disregarded, etc.
Once we have done these configuration steps, we may also run an initial import for these tables or views, so that we can test that the integration was properly set (checkpoint).
Example
In this example, the external SQL database has the following tables that are going to be virtualized: Territories, Region, and Shippers.

Our first step is to make sure that these tables have been previously created in Bizagi as Parameter Entities.
1. Creating the entities in Bizagi with their attributes to match data at the source
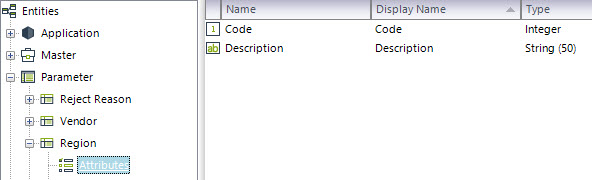
We create Region, Branch, and Shippers as Parameter Entities in Bizagi.
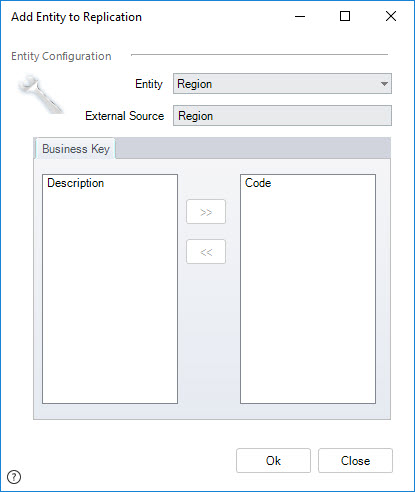
Region attributes in Bizagi:
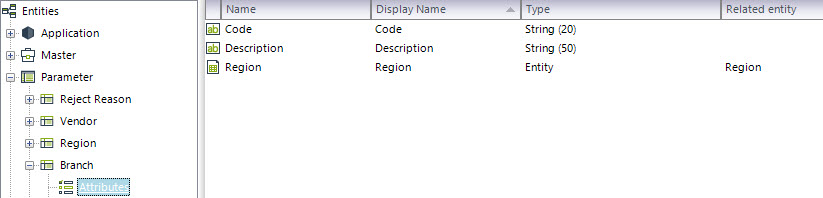
Territories (Branch entity) attributes in Bizagi:
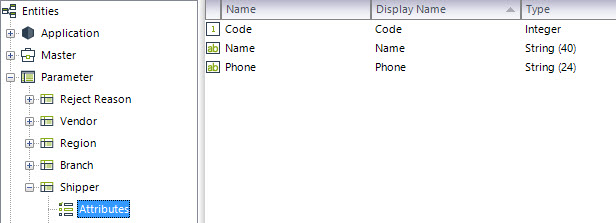
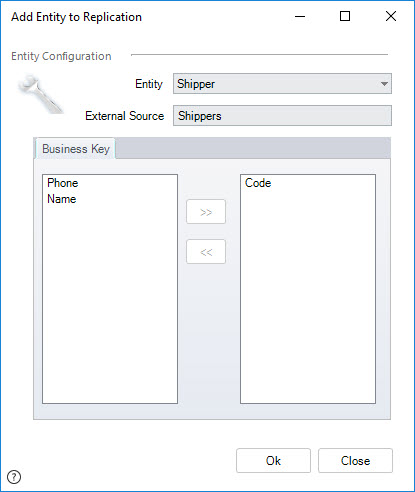
Shippers attributes in Bizagi:
2. Defining an External System
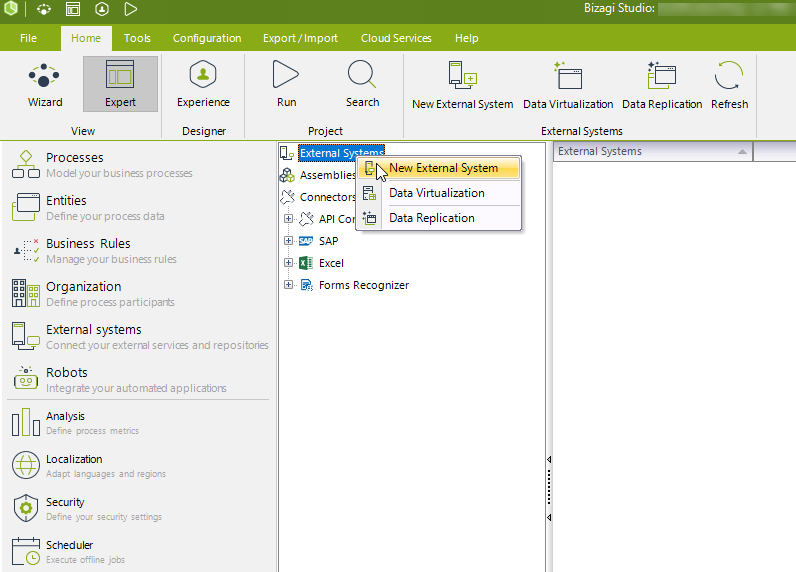
To define a new External System to be used in this integration, right-click on External Systems and select New External System.
In the New External System window, define the information for the system where the external data source is.
Enter the detail for this new system: Display Name and Description.
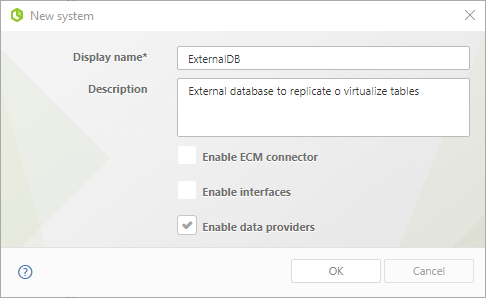
Make sure you also check the Enable data providers option.
Click on OK.
3. Defining a Data Provider
Once you have defined and created the new external system in Bizagi, we will enter the details for the Data Provider used by this System and its Replication configuration.
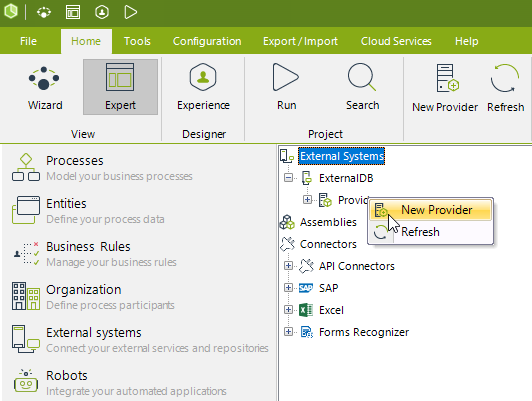
To do so, right-click on the Providers node located under the newly created system, and select the New Provider option.
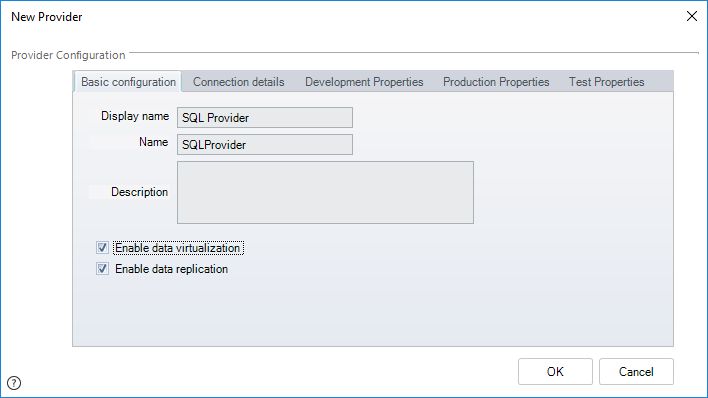
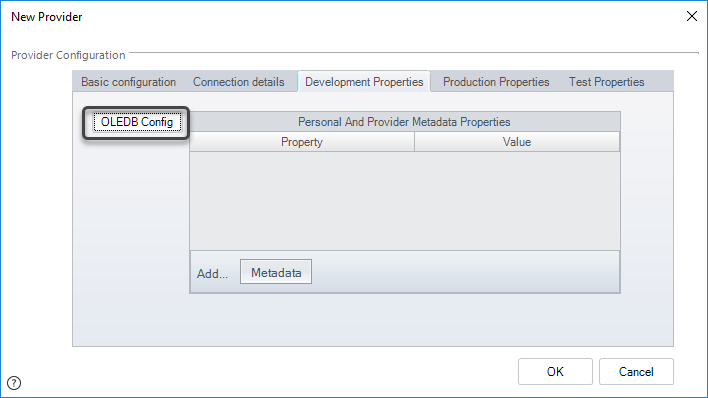
In the Basic configuration tab of the New Provider window, enter the detail for this new provider: Display Name, Name, and Description.
Make sure you mark the Enable data replication option.
Then, in the Development Properties tab, click on the OLEDB Config button.
For configuring your external data source as a SQL Server database, select the SQL Server radio button and specify the following details:
- Authentication: The authentication method used for accessing the Database.
- Database Server: The name of the Database Server containing the SQL Server instance.
- Login Name: A login account to access that Database.
- Password: The password for the previous Login Name.
- Database: The name of the Database where the tables or views to replicate are held.
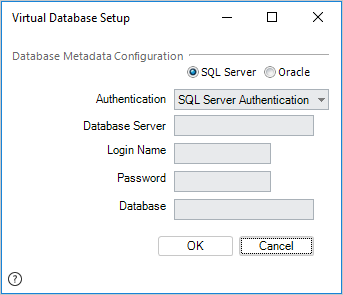
Click OK to save this connection.
Click OK again when returned to the New Provider window.
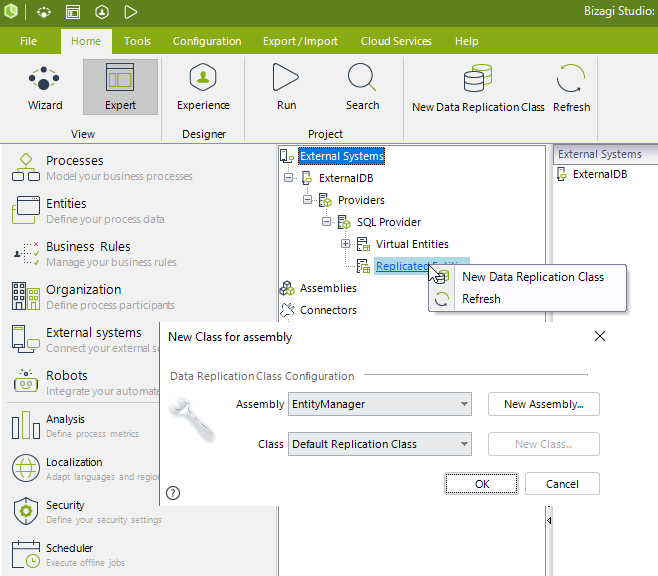
4. Registering the Replication class
Next, we need to create a Replication class in Bizagi.
To do so, define a Replication Entity Class by right-clicking on the Replicated Entities node and selecting the New Data Replication Class... option.
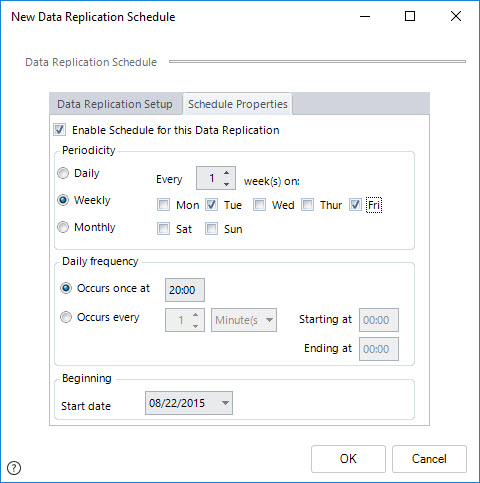
5. Defining a Replication Schedule
Once the Replication class is created or registered, we specify its Replication Schema to run periodically as a scheduled job.

Set the periodicity and frequency of execution.
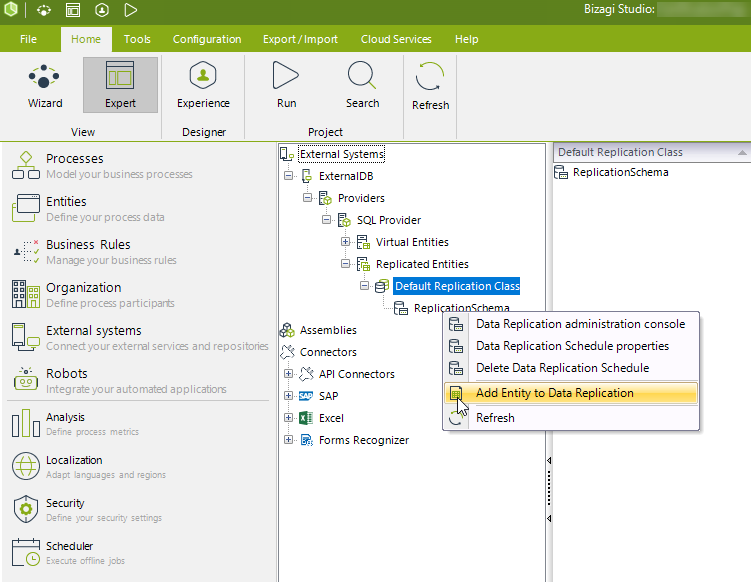
6. Including Parameter Entities for the Replication

7. Matching attributes in Bizagi to the sources' columns
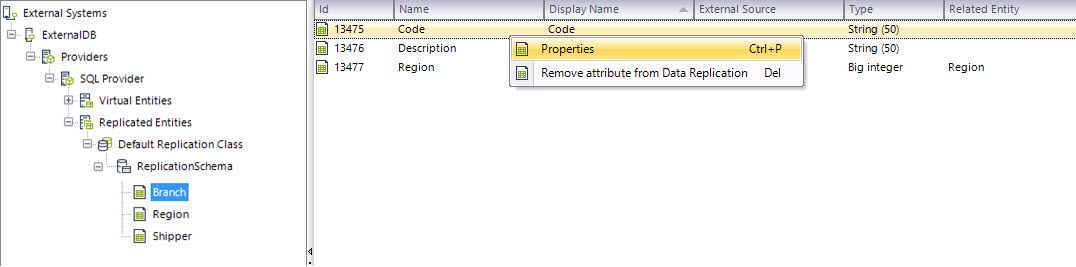
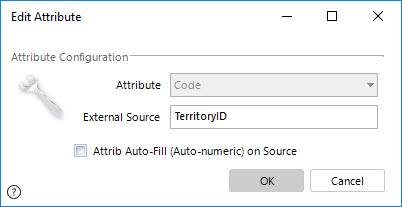
At this point, we completed the Replication configuration setup done through the Advanced options.