Using the Replication Wizard
Overview
Bizagi presents a Replication Wizard to assist in the definition and settings
for the connection to an external SQL Server or Oracle database
(and automatically create any necessary components).
View more information about Replication.
This article illustrates how to set up Replication in Bizagi using the Wizard.
If you need to connect to an external data source
that is not in SQL Server or Oracle,
refer to Using Advanced Replication Configuration (Standard Option).
Using the Wizard
To launch the Replication Wizard,
go to the second step of the Process Wizard in Bizagi Studio (Model data).
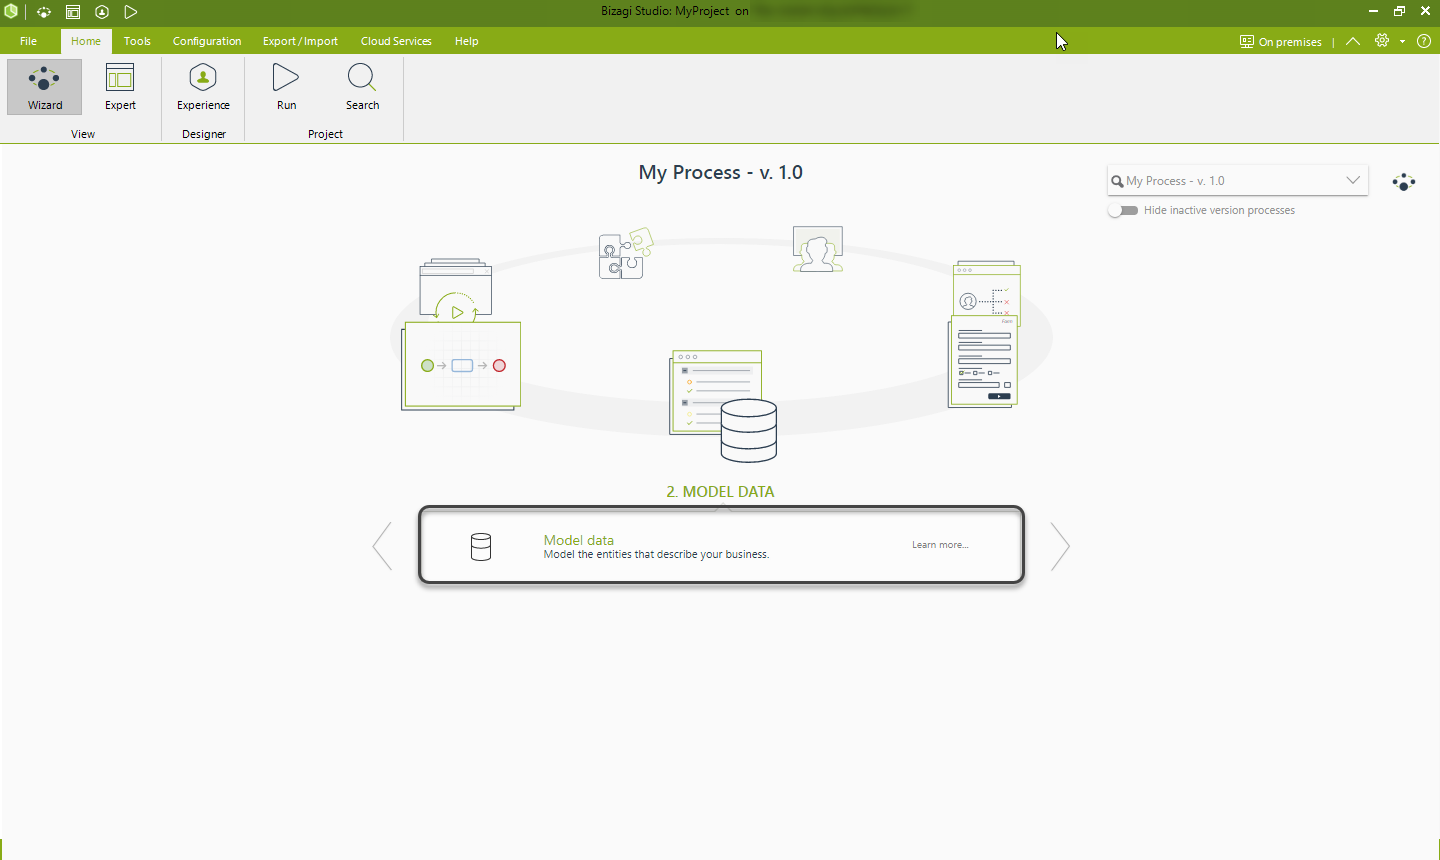
While designing the Process data model,
you will find an option to include replicated entities
in the Diagram as Parameter-type entities.
note_pin
Before using the Replication Wizard,
it is recommended to review the supported data types
for Bizagi’s built-in connection to SQL Server or Oracle databases.
What You Need to Do
Configuring Replication through the Wizard involves:
- Specifying details for the external system’s information
(set as a Reference System in the Bizagi project). - Specifying details for the Data Provider
(the connection information to the external data source). - Selecting which tables or views to replicate.
- Defining optional filters for the tables or views to replicate.
- Defining a Replication Schema.
Once the schema is defined, Bizagi runs an initial import
to verify that the integration was properly set (checkpoint).
Example
In the following example, we will replicate two tables
from a Northwind database (SQL Server):
- Territories
- Region
Both tables will be automatically created in Bizagi as Parameter Entities.
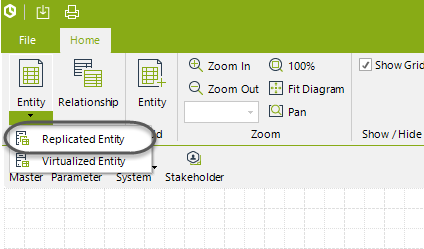
To illustrate this configuration, we will launch
the Replicate Entities Wizard from the Process Model Diagram
presented in the Data Model step.
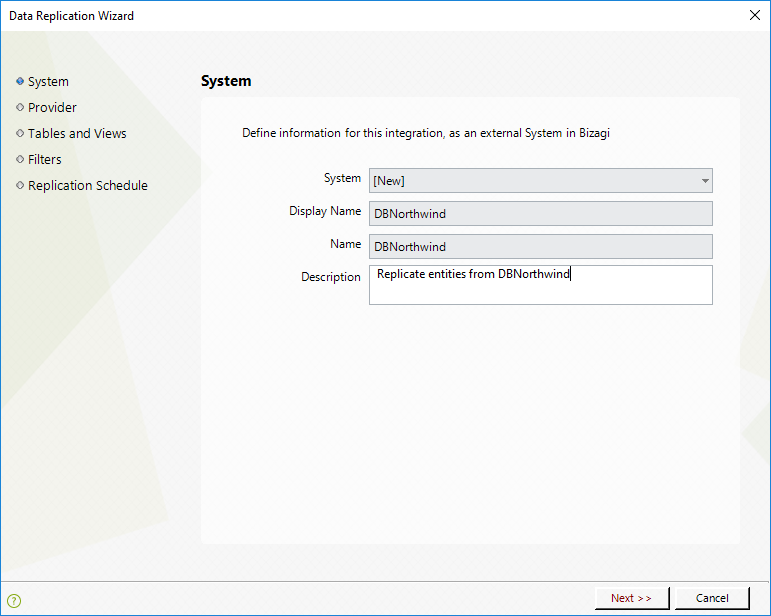
1. Define External System Information
In the System window, select New from the Select System drop-down list.
- Enter a System Name as a reference to the external system.
- This reference represents the external system in your Bizagi project.
- In future Replication settings, you can choose an existing system
from the Select System drop-down list. - Enter the Display Name and Description, then click Next.
2. Enter Details for the Data Provider
In the Provider window, select New from the Select Provider drop-down list.
- In future Replication settings,
you can choose an existing provider
from the Select Provider drop-down list. - Enter the Provider Name (a unique identifier for this Data Provider).
- This is useful when registering multiple external data sources in your project.
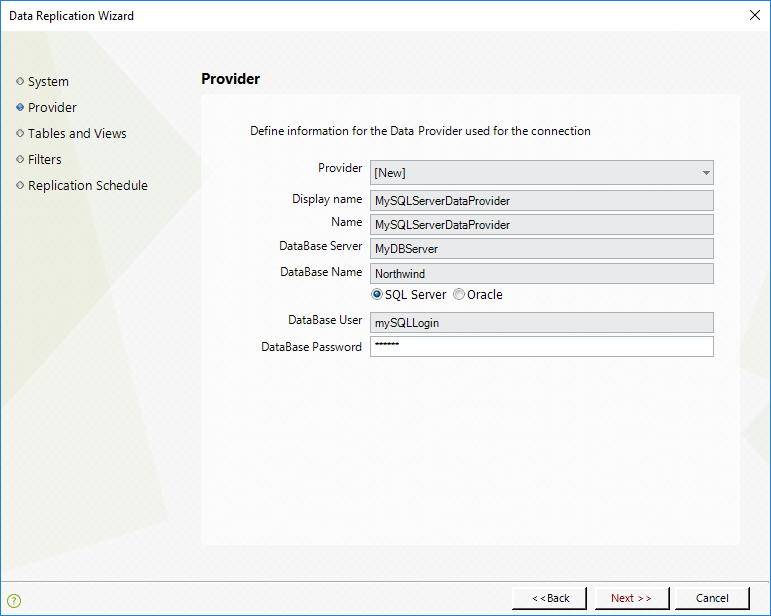
If your external data source is in a SQL Server database, enter:
- Database Server: The name of the Database Server hosting the SQL Server instance.
- Database Name: The name of the database where the tables or views exist.
- Authentication: Choose between:
- SQL Server Authentication
- Windows Authentication (no user/password needed)
- Database User: The login account with read access to the database.
- Database Password: The password for the login account.
note_pin
Windows authentication and Oracle databases are not supported
for Bizagi Automation cloud service.
If your external data source is in an Oracle database, enter:
- Net Service Name: The connection string to the Oracle instance.
Format:"databaseServer:port/serviceName"(default port: 1521). - Schema: The name of the user schema.
- Database Password: The password for the user schema.
Click Next.

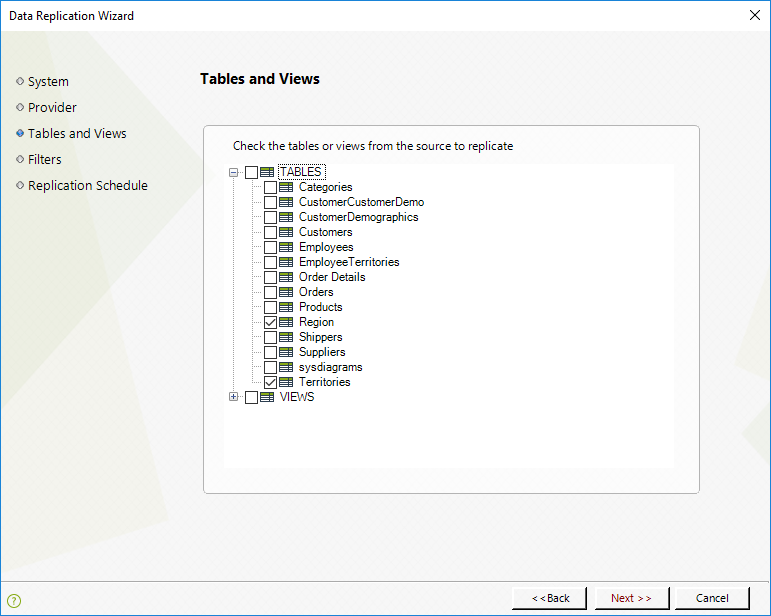
3. Select Tables or Views to Replicate
Once the connection details are defined,
Bizagi will search for available tables and views.
- Expand the TABLES node to see the available tables.
- Select the table(s) to replicate.
- In this example, we select Region and Territories.
- Click Next.
note_pin
If multiple tables/views are selected, Bizagi automatically creates relationships
if they exist in the source database.
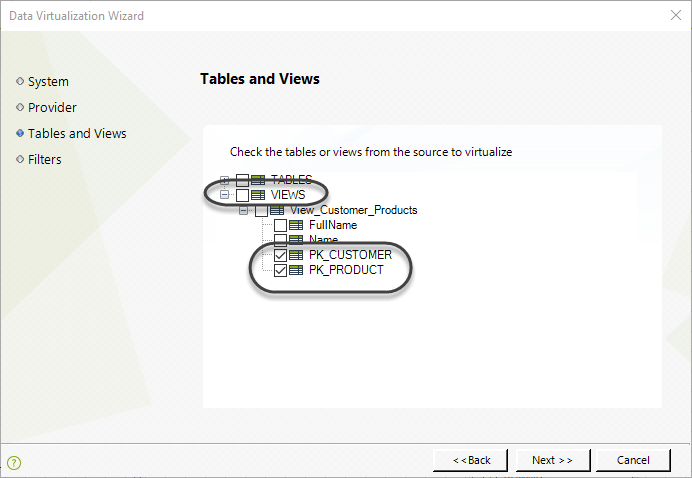
note_pin
- Primary keys are automatically selected as business keys.
- When selecting a view, specify which columns define the business key
(to uniquely identify records).
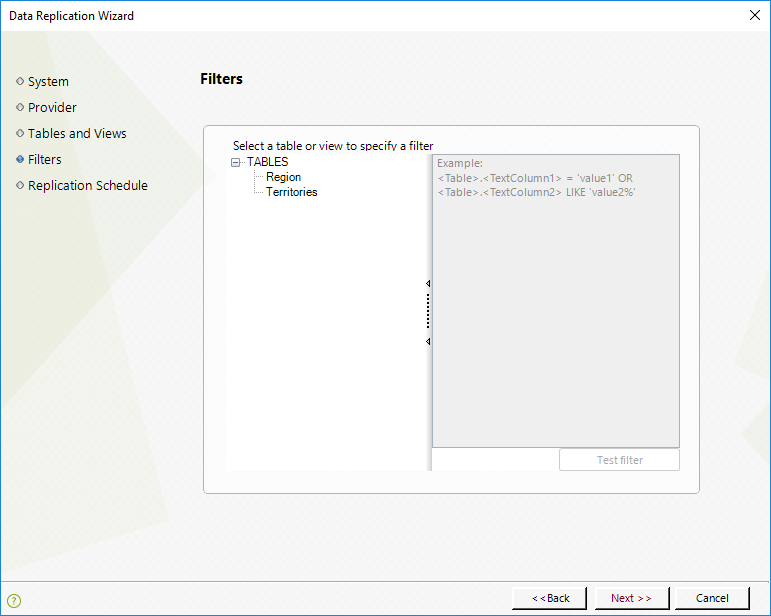
4. Define Optional Filters for Replication
(Optional) You can define a filter for records to be replicated.
- Example: Exclude Regions with NULL descriptions
- Filter:
RegionDescription IS NOT NULL
- Filter:
- Click Test Source Filter to validate.
- Click Next.
note_pin
Use filters carefully for large datasets as queries might take time.
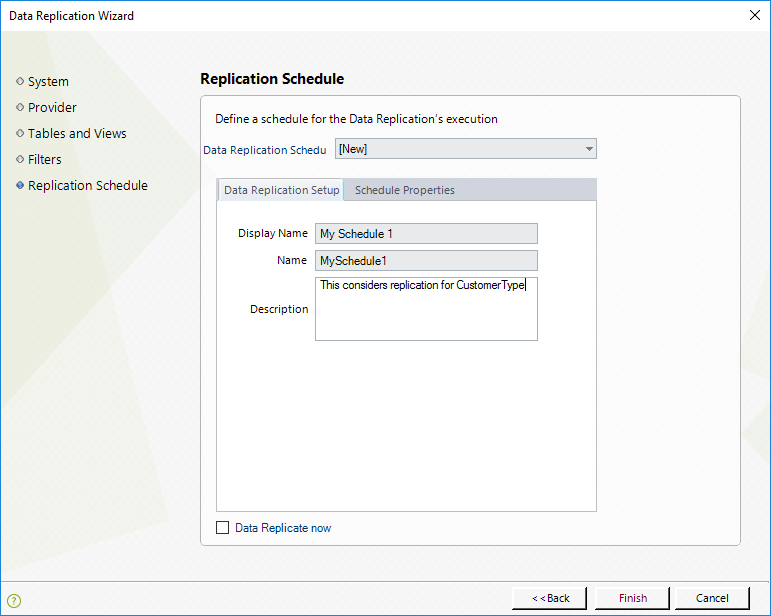
5. Define a Replication Schema
The Replication Schema determines how often data is synchronized.
- Select New from the Schedule drop-down list.
- Enter:
- Name
- Display Name
- Description
- Click Schedule Properties.
In Schedule Properties, configure:
| Schedule Option | Description |
|---|---|
| Enable Schedule | Enables automatic execution of Replication. |
| Periodicity | Set frequency: Daily, Weekly, or Monthly. |
| Execution Frequency | Define execution interval (every X days/weeks/months). |
| Daily Frequency | Choose one-time execution or repeated execution every few hours/minutes. |
| Start Date | Set the start date for replication. |
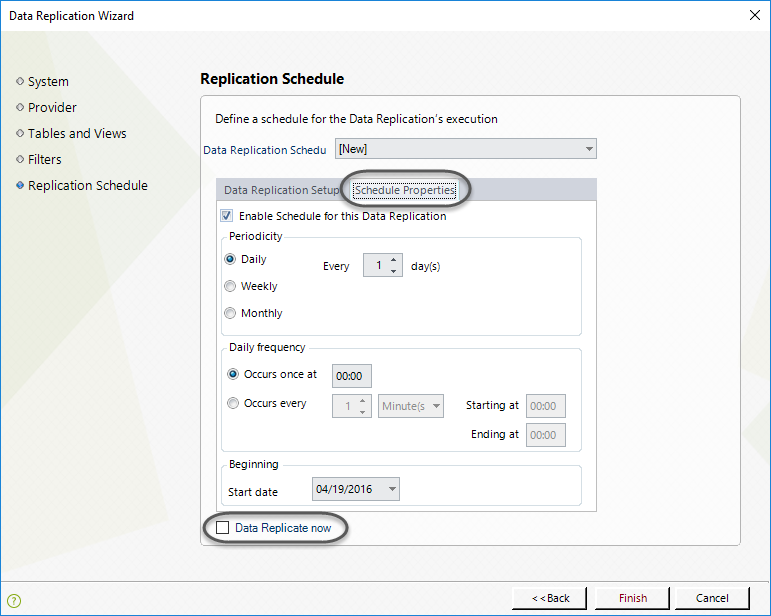
- Mark "Data Replicate now" to immediately execute Replication.
- If left unchecked, replication will follow the scheduled frequency
(Ensure the Scheduler service is running).
To view more information about restarting the Scheduler,
refer to Bizagi Management Console.
Click Next, then Close when the configuration is successfully completed.
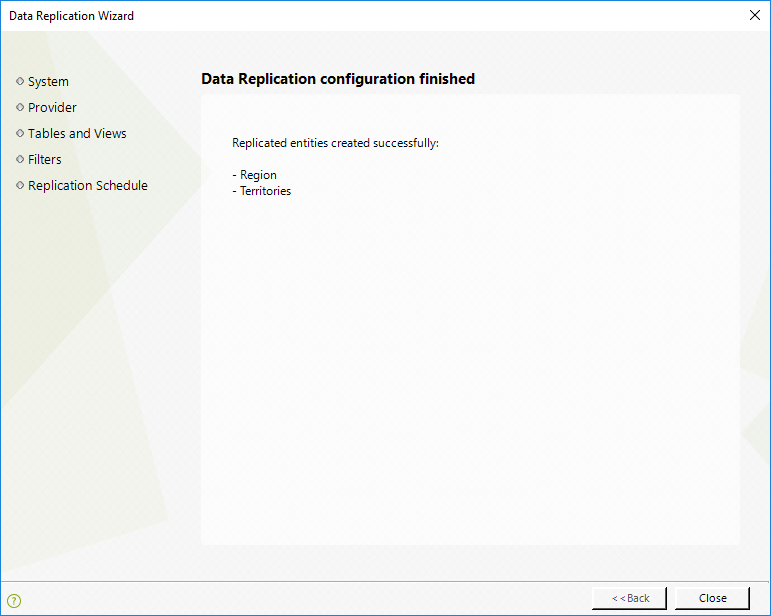
Verifying Replication (Checkpoint)
Once Replication is set, verify if the synchronization
of values for the replicated Parameter Entities was successful.
There are two ways to verify:
- Systems module options (for Production or Test Environments).
- Entities module (checkpoint while configuring Replication in Development).
For detailed steps, refer to Verifying Replication.