Button Control
Use
The Button control displays in the Work Portal, and when clicked, it executes the related expression or interface.
Considerations
- Buttons have the context of the form in which they are created. In a Process form, the Button will have the Process Entity context.
- If you drag and drop a button in a Nested or reusable form, the expression or interface created will have the context of the entity of the form.
- When a button is used in the column of a table, it will execute actions exclusively related to the record where the button is found. It should only be used to perform Refresh, Execute rule, and Execute interface actions.
- The Button's behavior is configured by using Form's Actions.
- Buttons can execute any rule or interface.
Related to Attribute Types
This control is NOT associated with an attribute of the data model. To use it, you must drag and drop the Button control from the Controls tab and configure it.
Properties
Every control has properties that allow customizing its behavior in the Work Portal. However, some properties are exclusive to a specific control. The following properties are exclusive to the Button control:
Basic Tab
| PROPERTY | DESCRIPTION |
|---|---|
| Button caption | The text entered in the Button caption will appear inside the button. |
Format Tab
| PROPERTY | DESCRIPTION |
|---|---|
| CSS Style | You can customize the style of your buttons by creating your own CSS definition for them. You can create as many different styles as you need. The property in the Button control is the name of the created CSS class. |
Note: New CSS styles MUST be defined in the override styles located in
C:\Bizagi\Projects\[BizagiProject]\WebApplication\jquery\overrides\css\desktop\bizagi.custom.styles.css.
Be careful! Changing CSS styles requires expertise. Please don't attempt to change them if you don't have the skills to do so.
Advanced Tab
| PROPERTY | DESCRIPTION |
|---|---|
| Enable user confirmation message | This property allows you to configure a confirmation message for the execution of the action associated with the button. |
Example
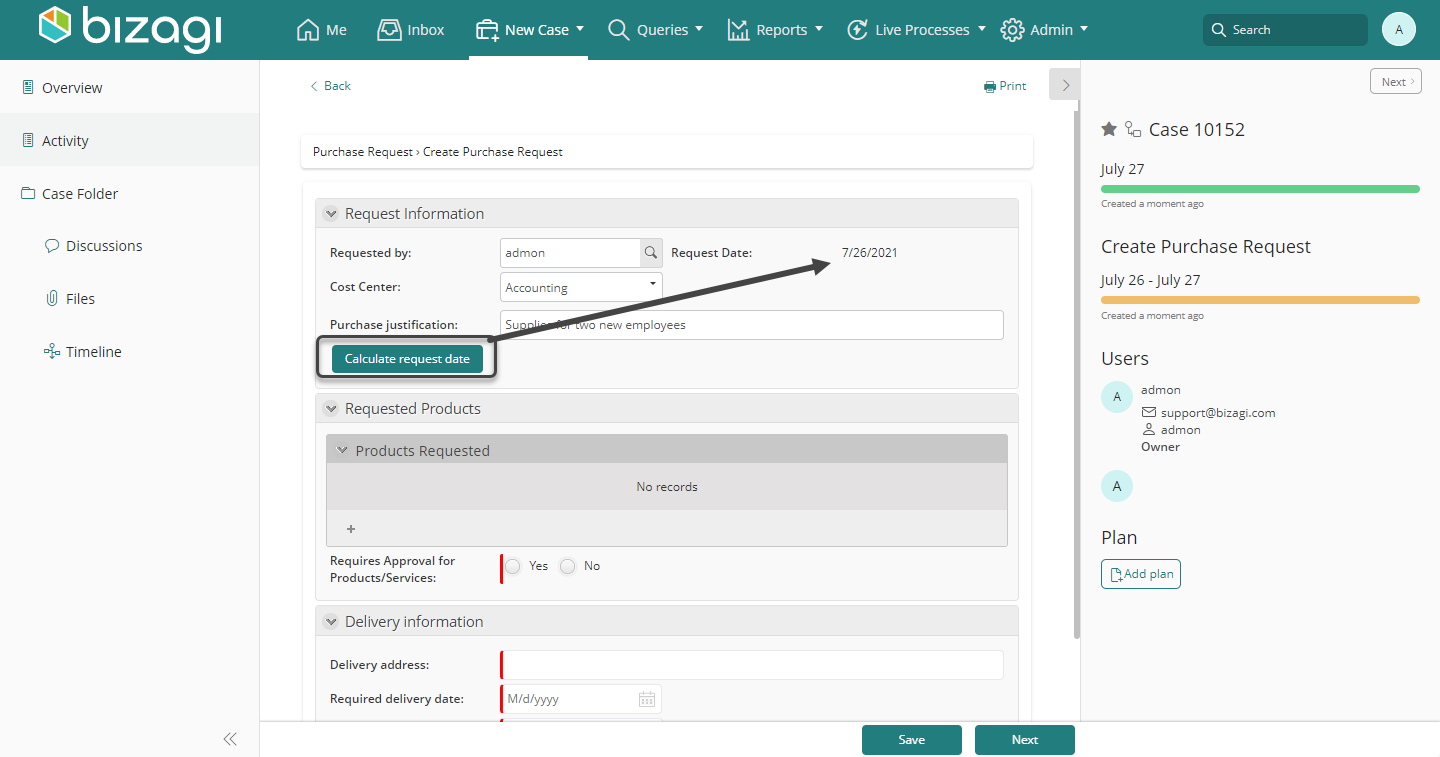
The request date of a Purchase Request Process is calculated when clicking on a button. When clicked, the date will be auto-filled.
Steps to Configure Button Behavior:
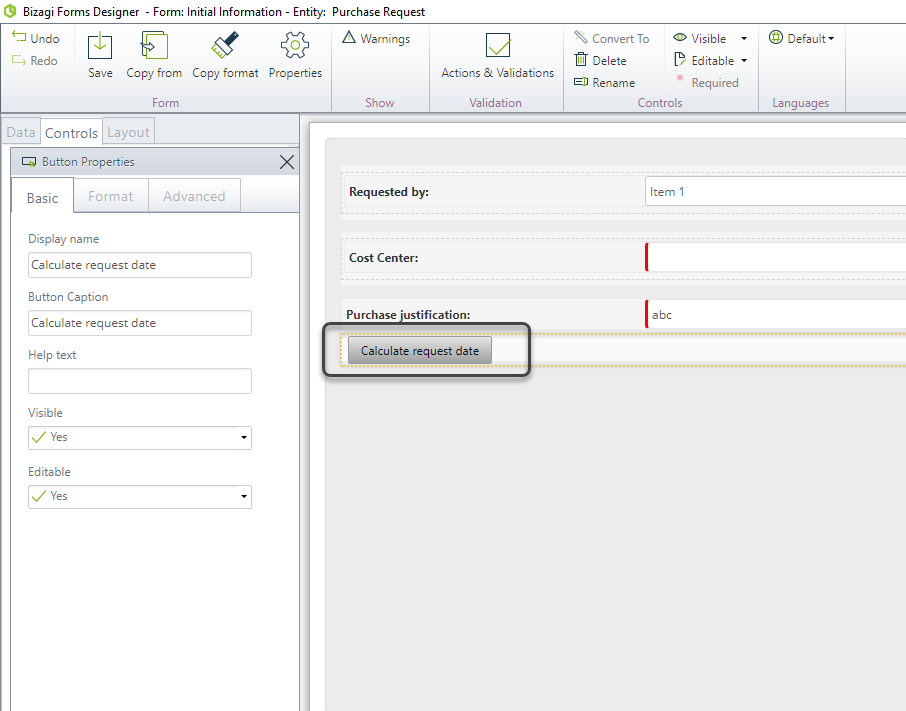
-
Drag and drop a Button control onto the form. Type the desired Button's Caption.
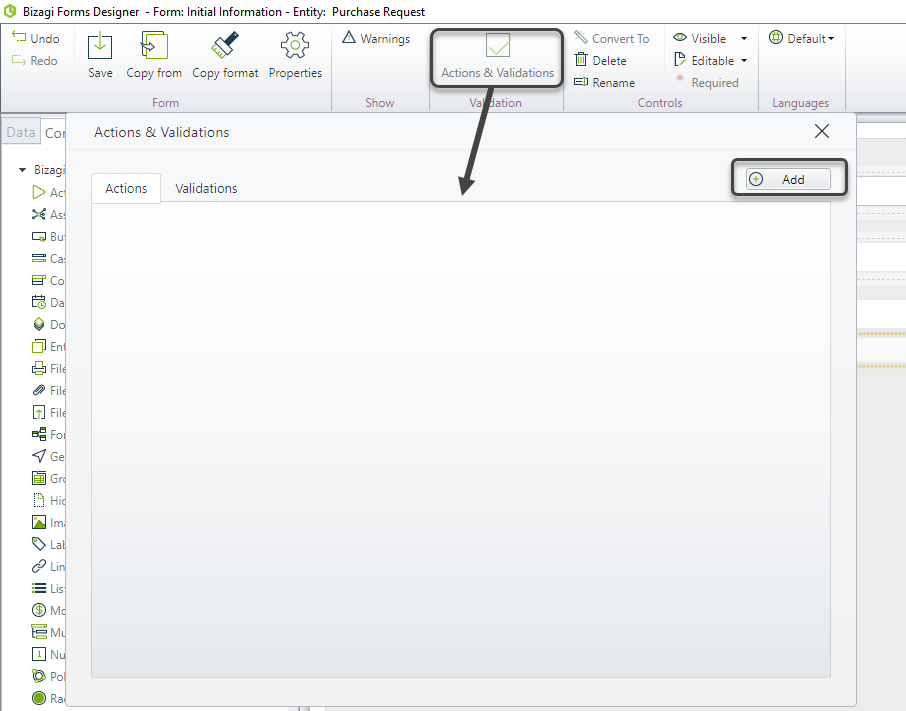
-
Create a new Action from the Actions & Validations wizard.
-
In the Action's condition, select the button as the control. The click option will be available to identify when the button has been clicked.
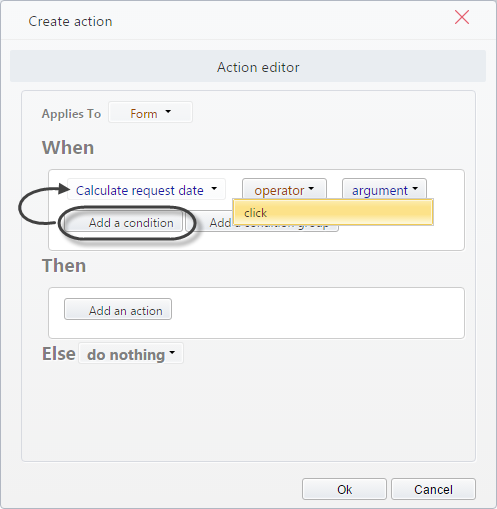
-
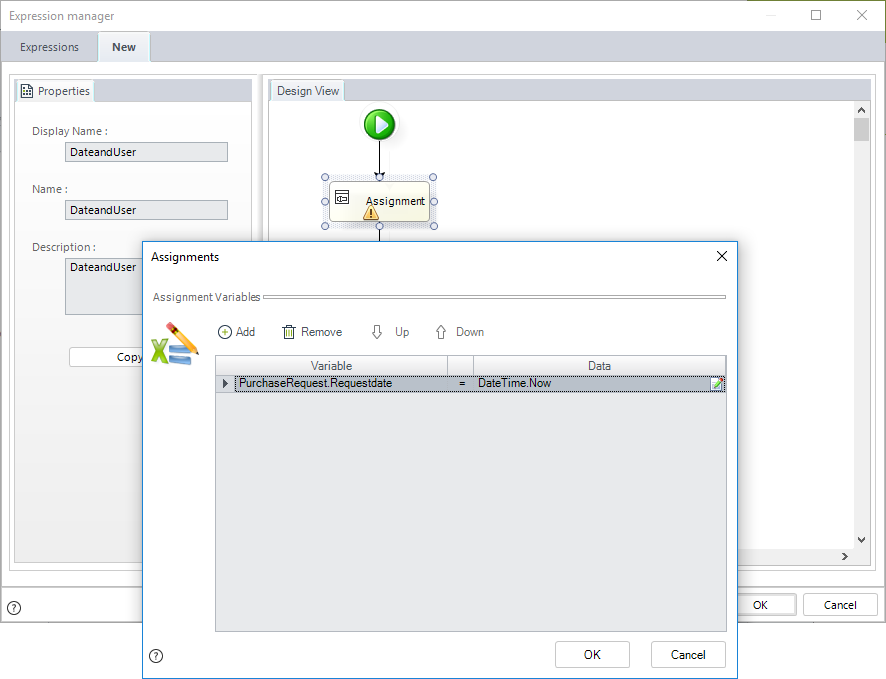
Include the Action to execute when clicking the button (Then). In this case, the button will execute a rule that sets today's date to an attribute in the form. Click Add an action and select Execute rule as the command. Then create the rule in the expressions editor.
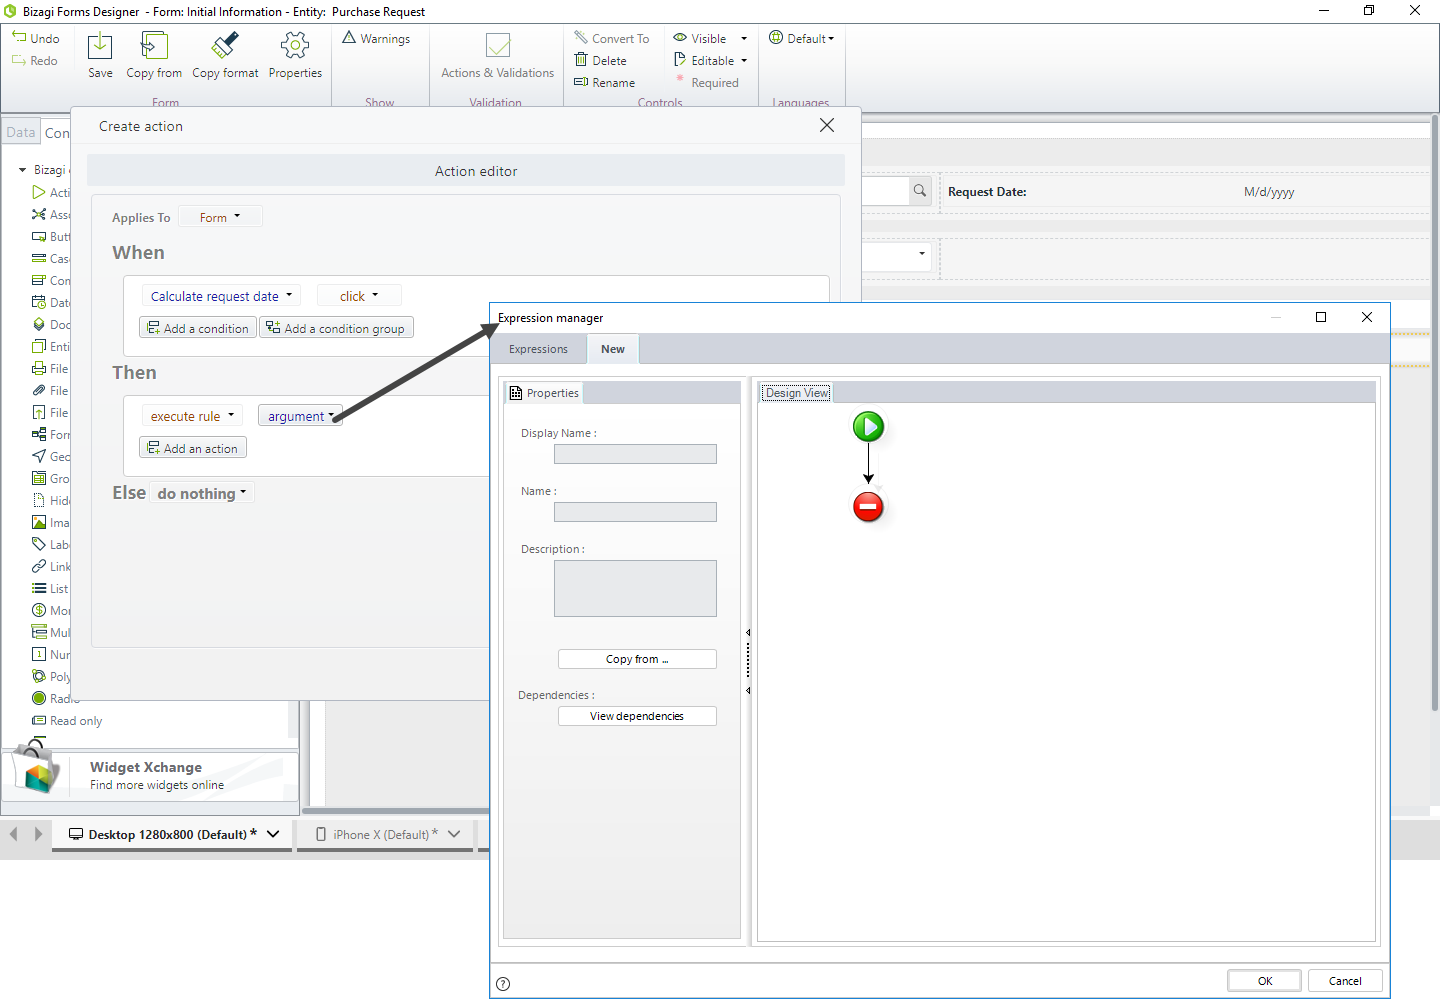
The expression has the context of the Process Entity.
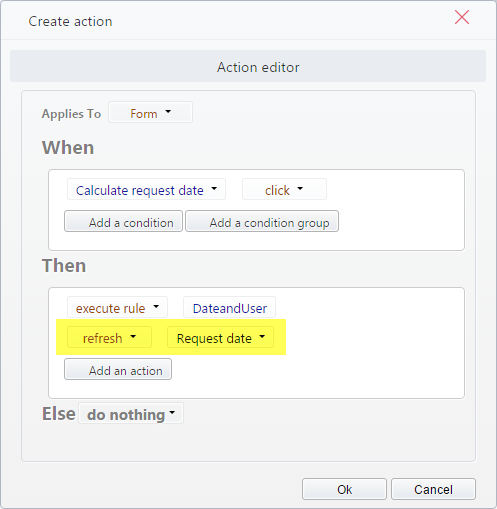
-
Update affected controls. Click Add an action and define the controls that need to be updated after executing the rule. Use the Refresh command. In this case, the control to refresh is Request date.
In the Work Portal, the button will be displayed with the given caption. When the control is clicked, the expression will auto-fill the request date.
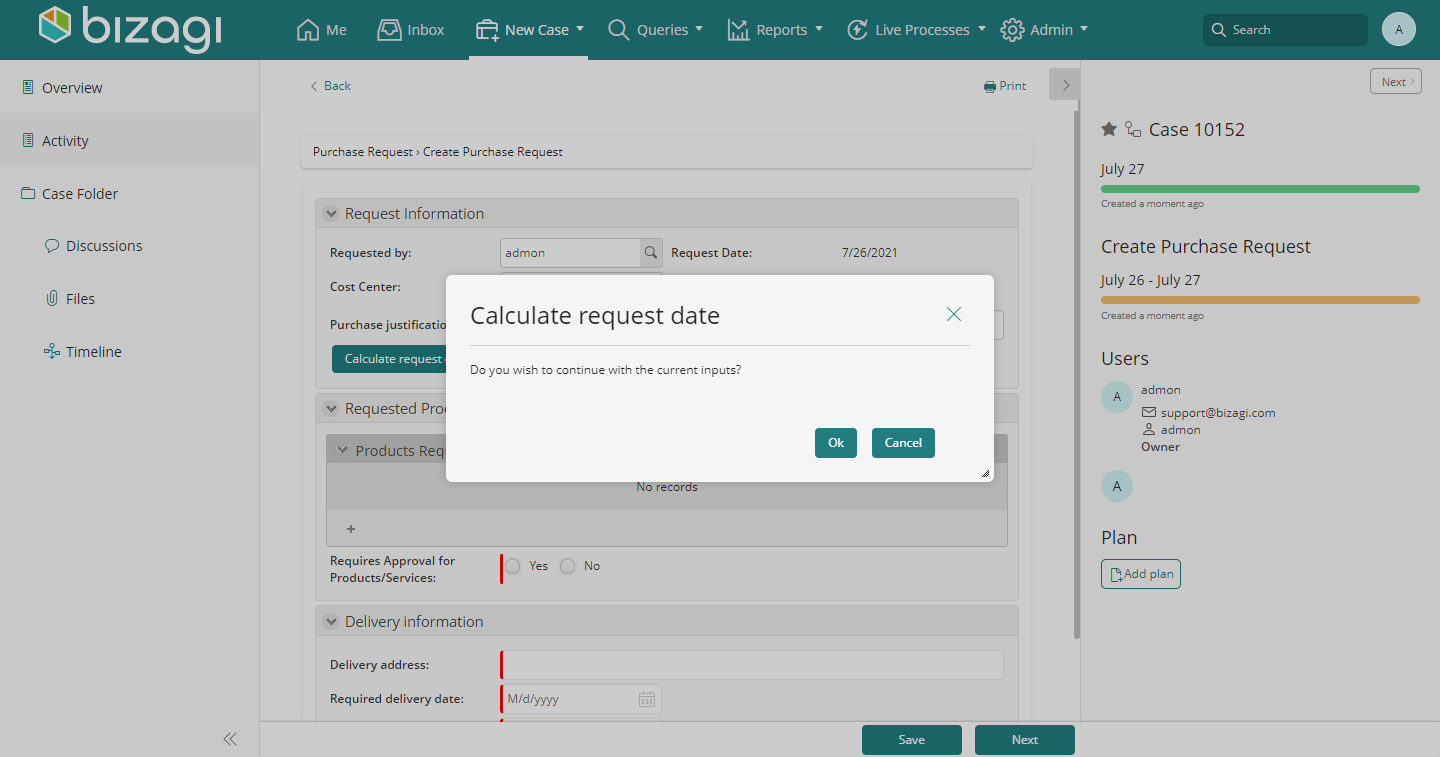
How to Configure a Customized Confirmation Message
In some cases, a confirmation message is useful before executing an action to review if the information registered is correct. You can configure a confirmation message in the buttons before the execution of the action.
To configure a customized confirmation message, go to the advanced tab of the specific button in Bizagi Studio.
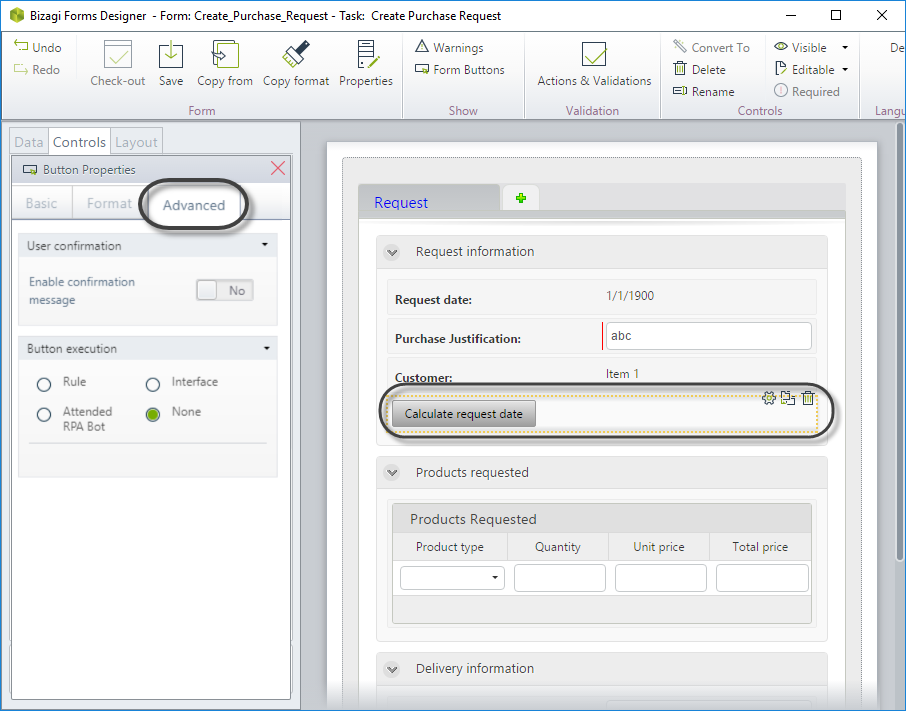
Enable the confirmation message and type the message that you want to be displayed.
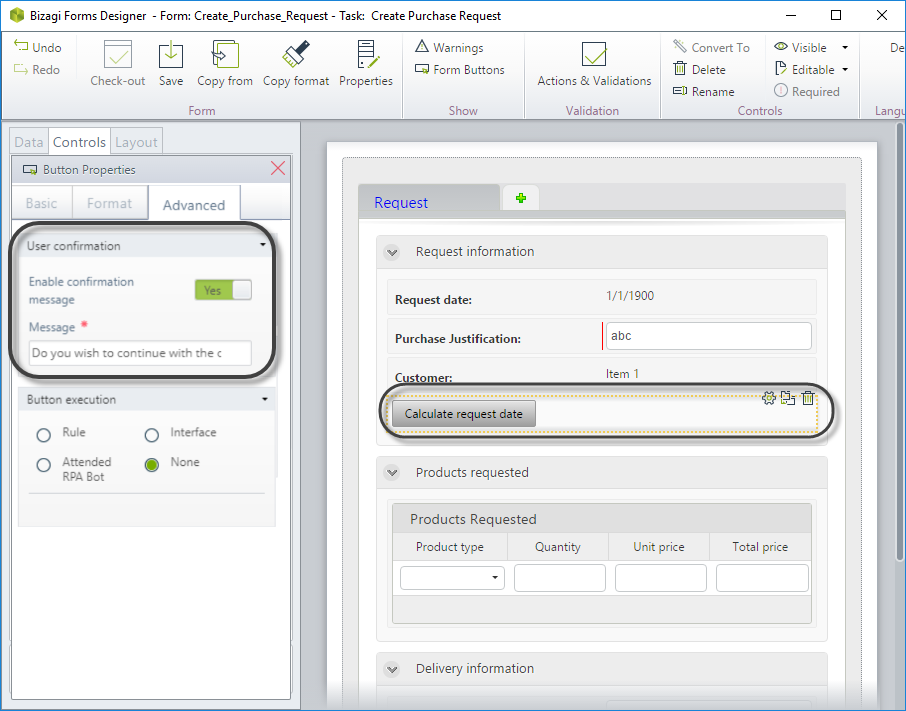
In the Work Portal, when the button is clicked, the confirmation message will be displayed before the action is executed.