Image
Use
The Image control enables the upload and display of images in forms.
Considerations
- The purpose of this control is to display images in an image file format (i.e., bmp, jpg, png, gif). In order to validate that the images conform to the supported image file format, you must first define the allowed extensions in the control's Properties.
- Images must be Editable in order to upload an image in the Work Portal. If the control is read-only, the end user can only see the control but not upload or modify its content.
- Image controls cannot be sent in email messages.
Related to attribute types
This control is related to image type attributes.
Properties
Every control has a set of properties that allow customizing its behavior in the Work Portal. However, some properties are exclusive to a specific control. The following are properties exclusive to the Image control:
Format tab
| PROPERTY | DESCRIPTION |
|---|---|
| Image size | Define the size dimension of the image to be displayed on screen. You can choose between a predefined size: 128x128, 64x64, and 32x32 mpx, or Fit to size. Fit to size will display images to fit their container: layout, group, or column. If the image is smaller than the container, it will be displayed in its real size. If the image is larger than the container, it will be resized. |
Advanced tab
| PROPERTY | DESCRIPTION |
|---|---|
| Valid Extensions | Defines the allowed file extensions for upload images. Separate the different extensions using a semicolon (e.g., png; jpg; gif). |
| Maximum Size (bytes) | Defines the maximum size (in bytes) that a file can have before it is deemed unsuitable for an upload. Consider the next table in order to convert to bytes the most common units of measurement for data storage: |
| MEASUREMENT | BYTES |
| 1 KB (Kilobyte) | 1.024 |
| 1 MB (Megabyte) | 1.048.576 |
| 1 GB (Gigabyte) | 1.073.741.824 |
Note: Clicking the Set to default value icon will reset the properties.
Example
In an Onboarding Process, the information of a new employee is entered in the first activity. A photo of the new employee is needed to create the Bizagi profile, along with other details such as e-mail account, social security, and affiliations. To upload a photo, an image control must be inserted.
-
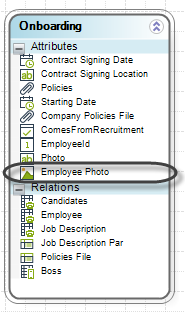
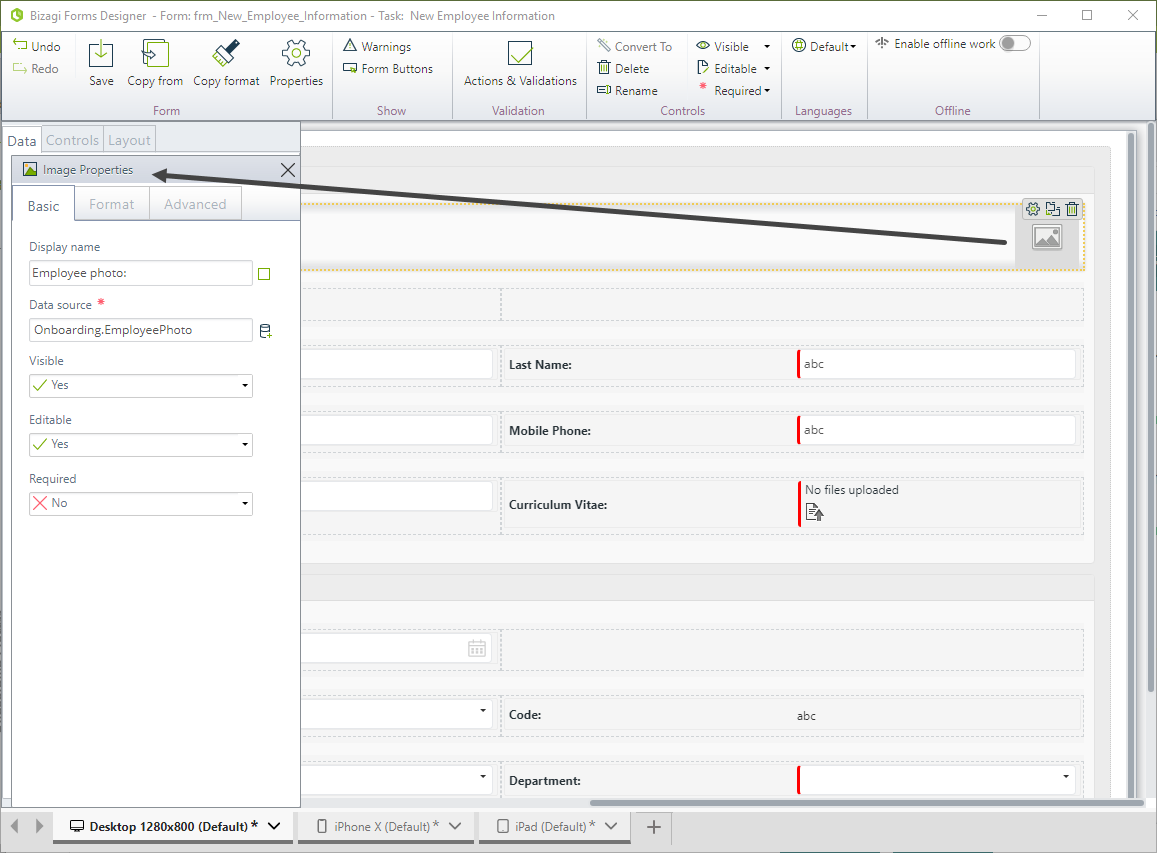
First, you need an image type attribute in your Data Model. We will create an attribute named Employee photo in the Process Entity.
-
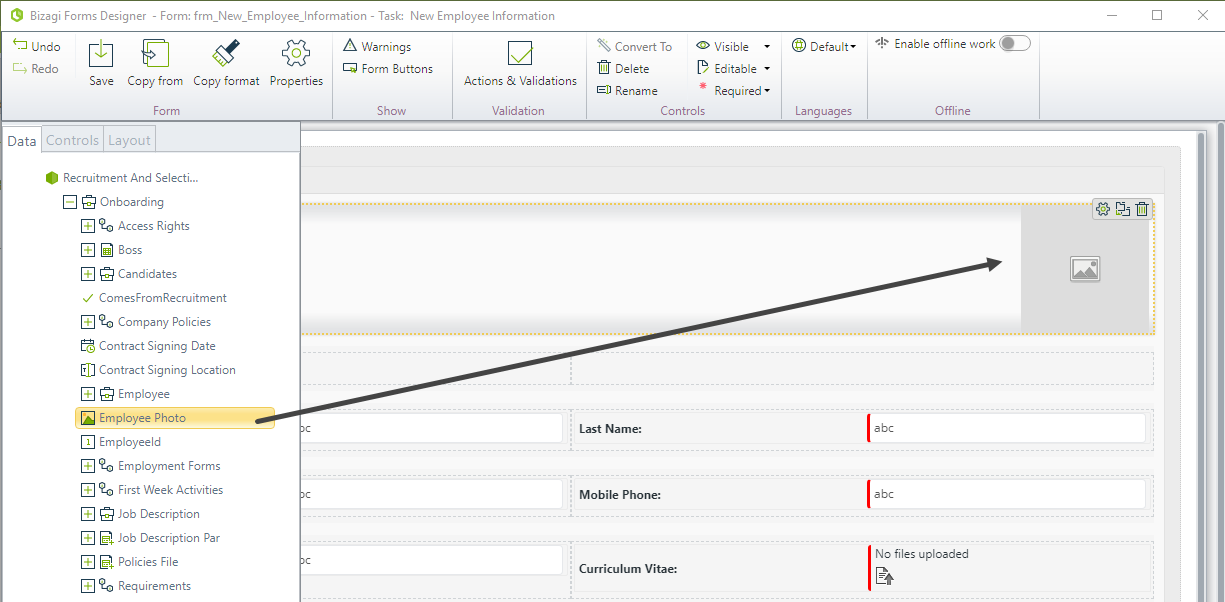
Drag and drop the Employee photo attribute from the data model onto the Form. Bizagi will automatically interpret the attribute and add it onto the Form as an Image Control. Save the Form.
-
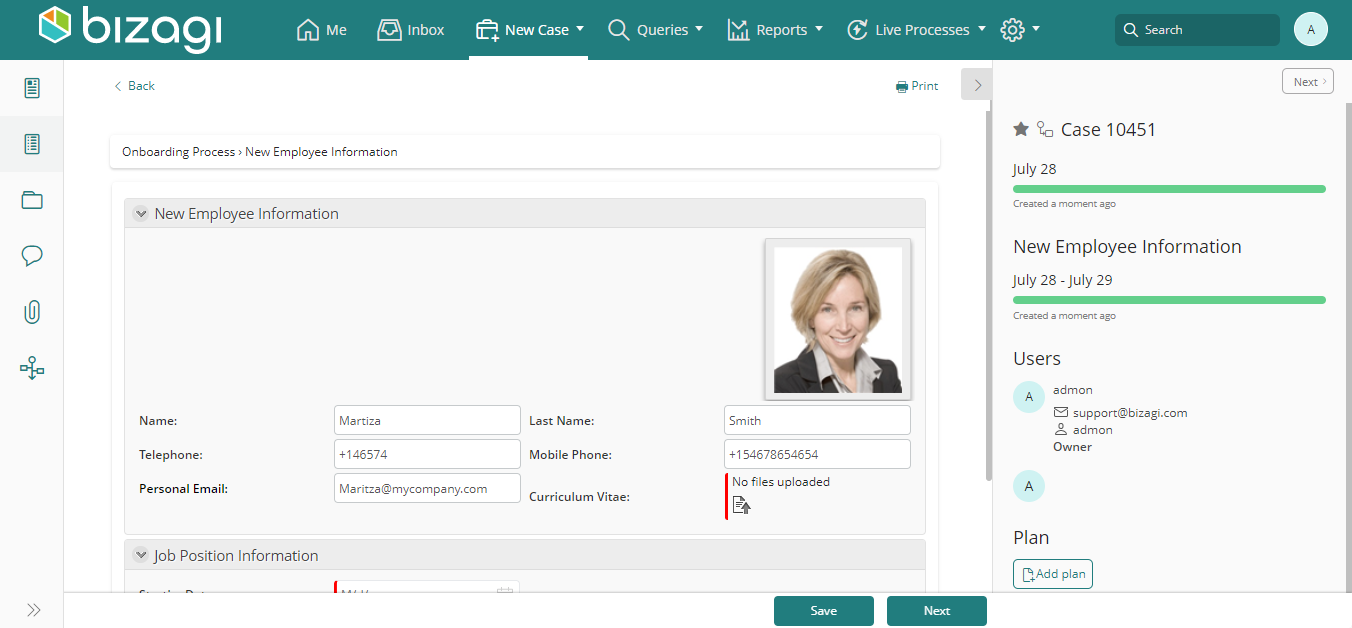
Go to the Work Portal to test the Control. Click the Control and upload an image.
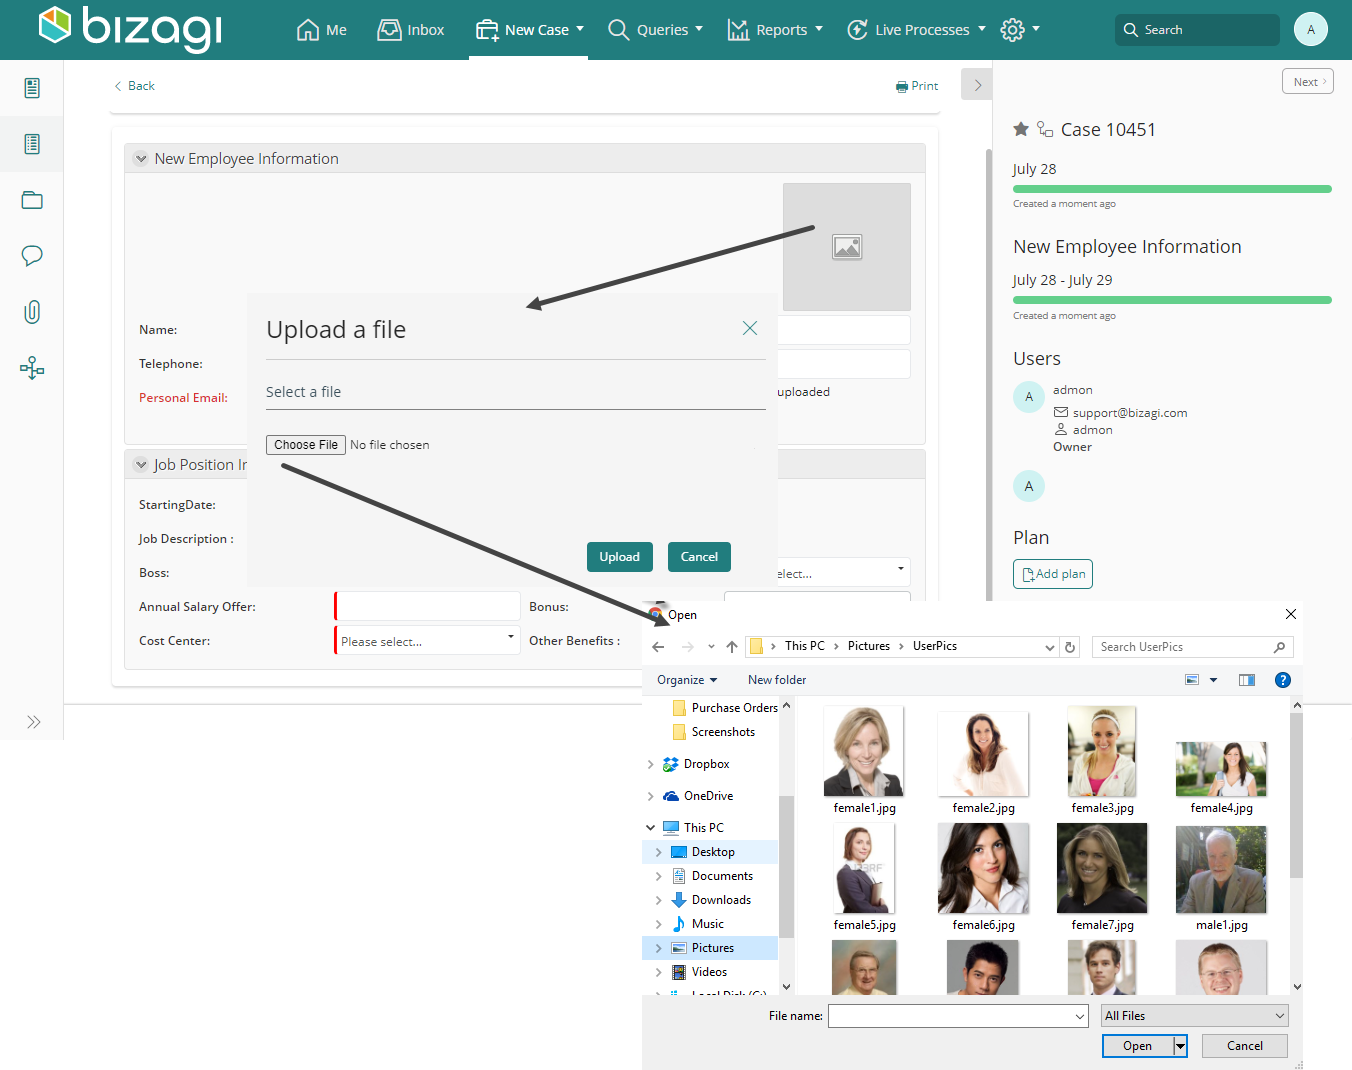
Note its size dimensions.
Using Fit to Size Option
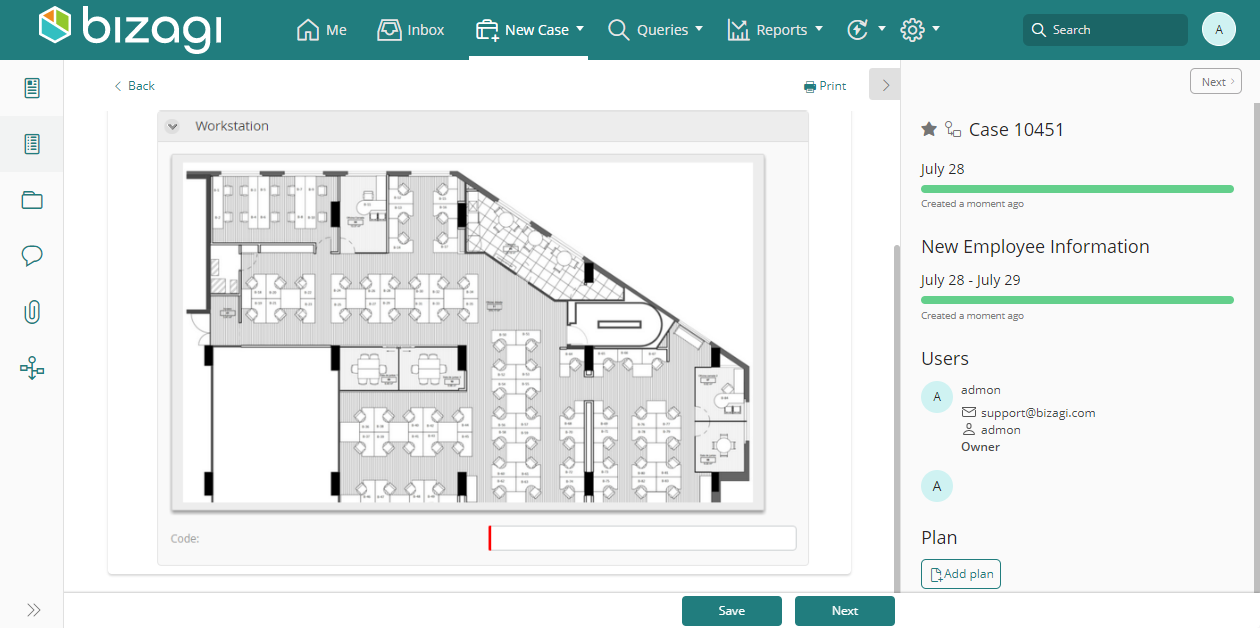
In the same process of the previous example, the human resources assistant assigns the workstation to the new employee based on the office layout. The office plan should be displayed in the form to aid the assistant in identifying the best place to locate him/her.
Since the plan is a large image, the predefined sizes do not work for this case. Therefore, the image will be adjusted to the size of a group container.
-
Insert the image and click it to access its properties.
-
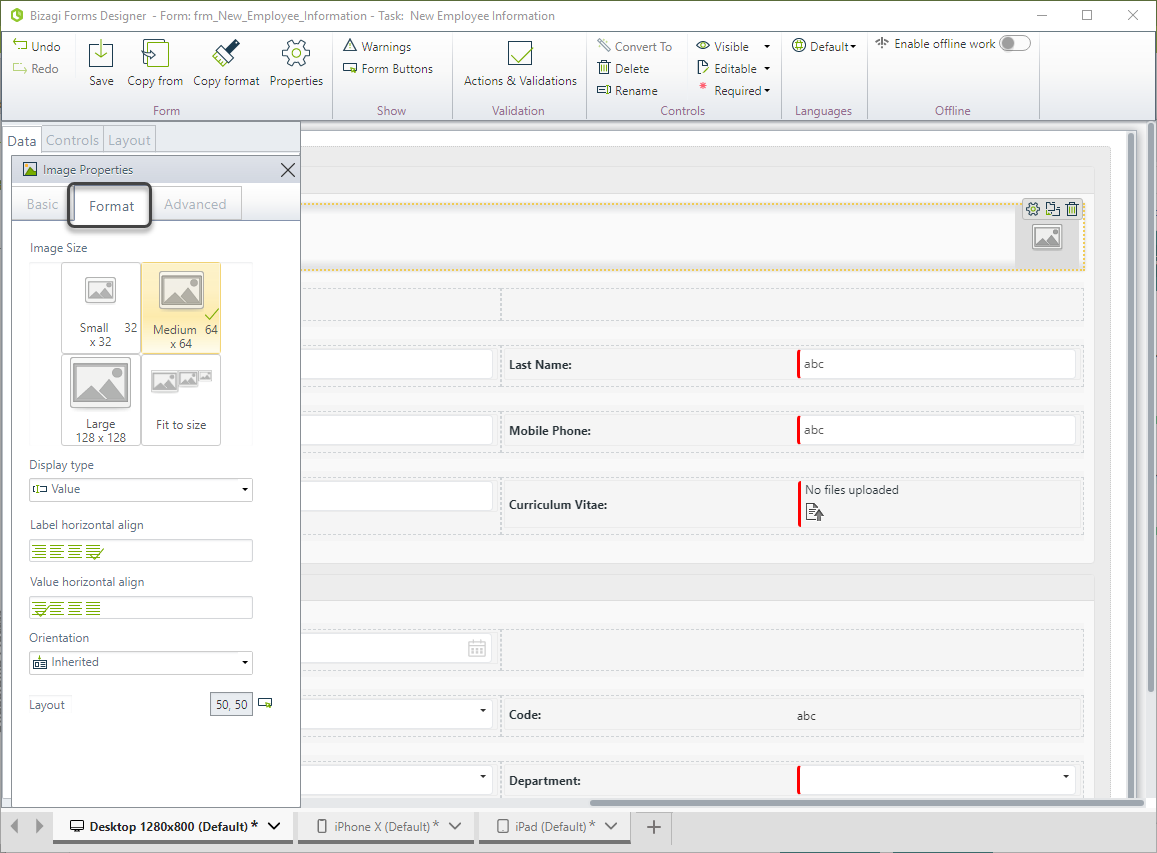
In the properties menu, go to the Format tab.
-
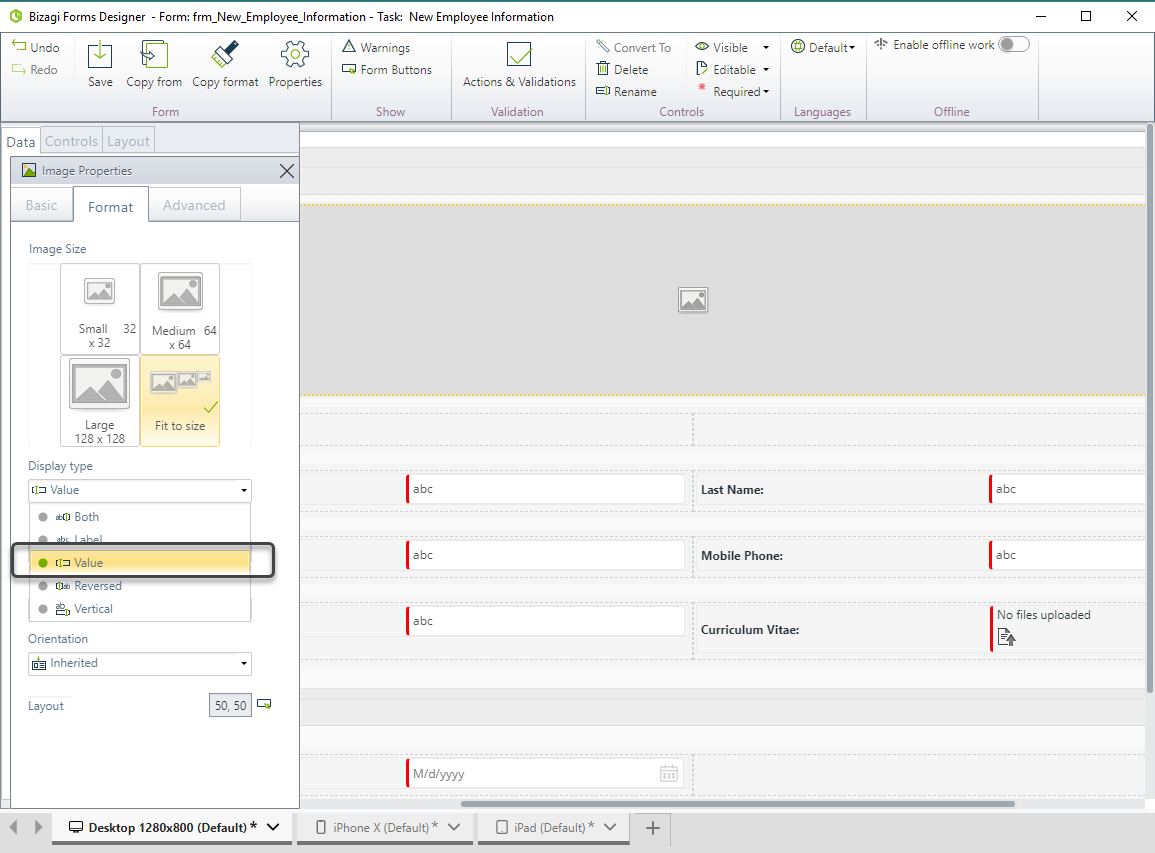
In the Image size property, select Fit to Size.

-
Also, in the Display type property, select Value. This will hide the image label.
See how the image is displayed in the Work Portal.
IMPORTANT: Images uploaded in image type controls with Fit to size as image size might not be correctly displayed in IE8 if their file size is higher than 32Kb.
If you wish to display images higher than 32 Kb in this control, use another image size (128x128, 64x64, or 32x32 mpx), IE9, or another browser.