Creating an Organization
This section provides the information necessary to properly create and modify each of the elements that compose the organization and the association or their relation in the Activities of the Process.
To show you how to create an organization in Bizagi, we will use the next organizational structure:
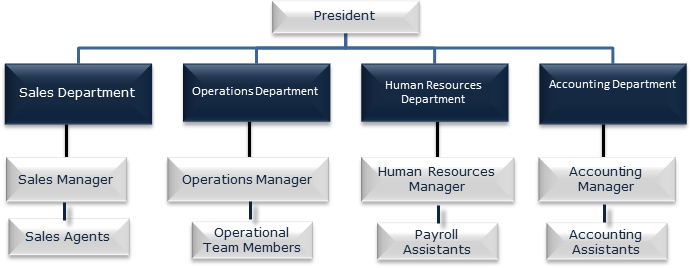
This structure is composed of four areas and nine positions. Areas are depicted by blue squares and positions are depicted by silver squares.
Creating Areas
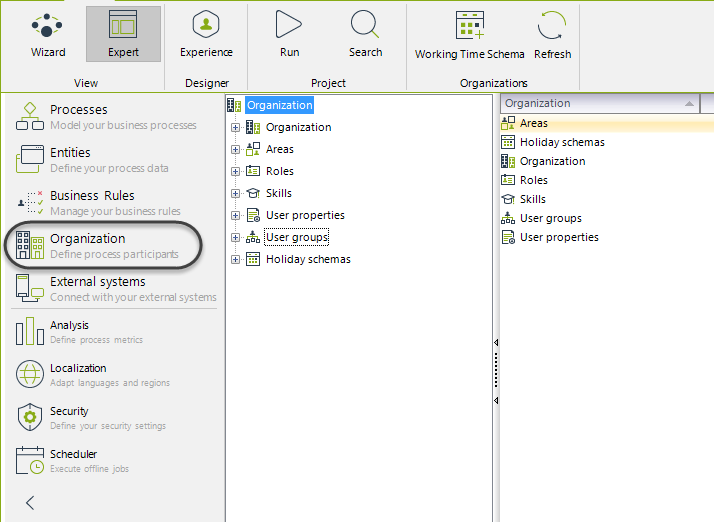
- Go to the Organizations module in the Expert view.
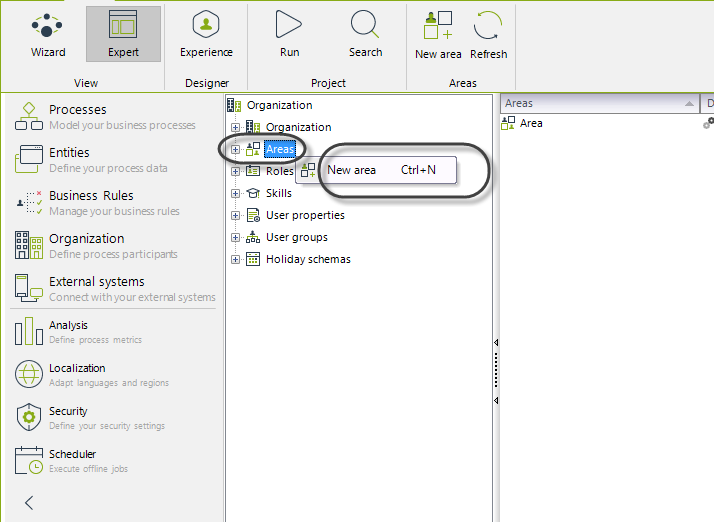
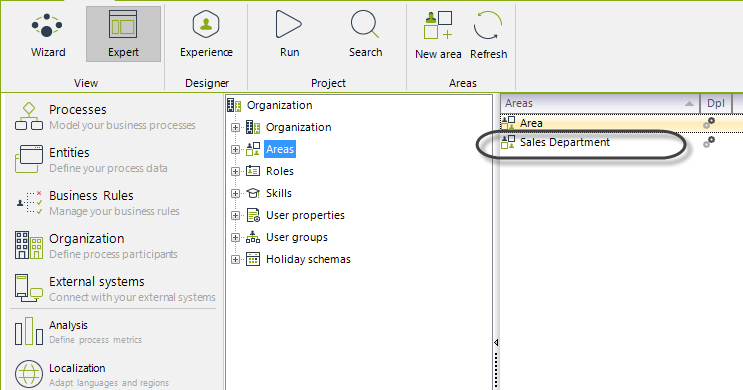
- Right-click on Areas and select the option New area.
- A new window will be opened. Type the name, display name, and description of the new area. In this case, we type Sales Department.
Click OK.

The new area has been created. Do the same for the remaining areas.
Creating Positions
The procedure for creating positions is very similar to the previous one described. The difference is that positions have dependencies in order to represent the hierarchy within the organization.
In our example, the Sales Manager is in a higher level of authority than the Sales Agent and in the same authority level as the Operational, Human Resources, and Accounting Manager. In Bizagi, these authority levels are taken into account when creating positions.
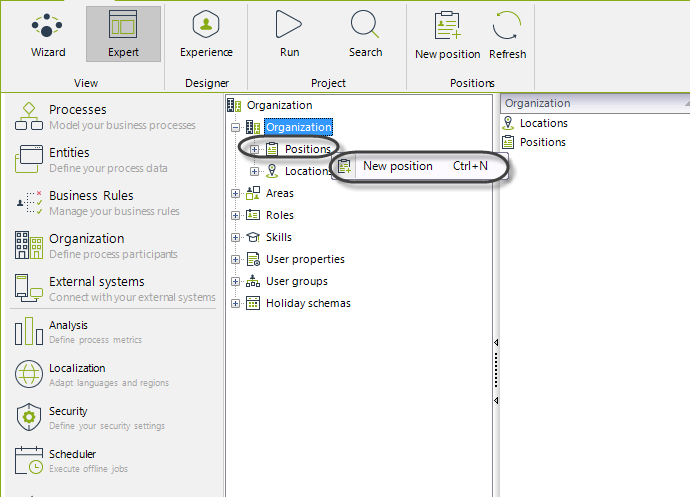
- Go to the Organizations module in the Expert view and click on Organization.
- Right-click on Positions and select the option New position.
- A new window will be opened. Type the name, display name, description, and cost of the new area. In this example, we type Sales Manager.
Click OK.

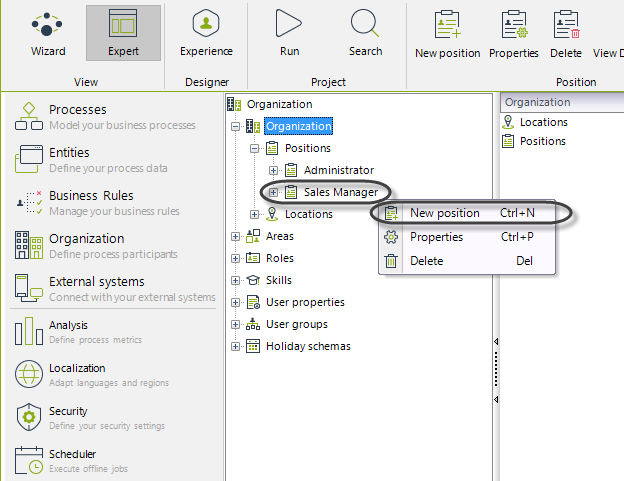
- After creating a position within the organization, you can create new dependencies for it.
Select the element on which you would like to create the dependency, right-click, and select the option New Position.
We will create a dependency for the Sales Manager: The Sales Agent.
Right-click on the Sales Manager position and select the option New Position.
- Type the name, display name, description, and cost of the new area. In this case, we type Sales Agent.
Click OK.

Note how the hierarchy is represented.

The final view of the hierarchy would be:

Creating Locations
Locations work in the same way that Positions do. In this case, the hierarchy represents the level of importance of an office or branch in relation to others.
Suppose that our Organization has its main office in New York and two branches; one located in Miami and the other in Los Angeles.
In order to create Locations and represent their relative level of importance, follow the next steps:
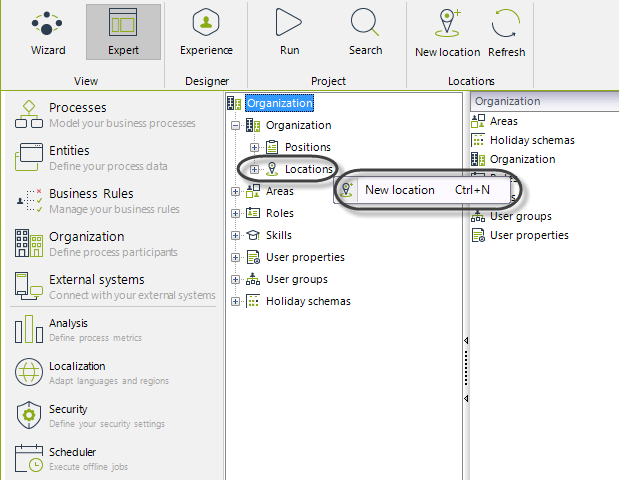
- Go to the Organizations module in the Expert view and click Organization.
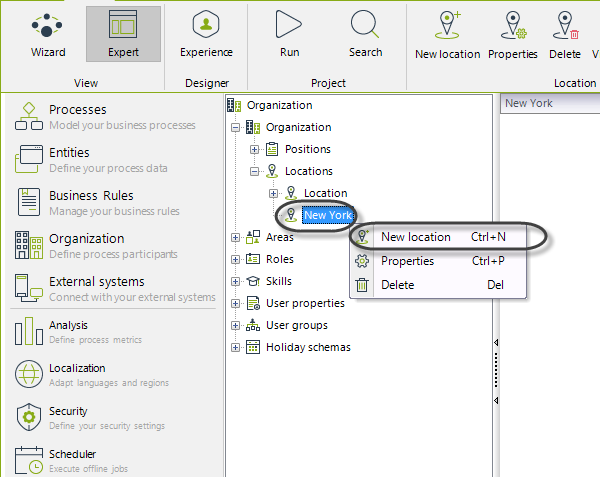
- Right-click on Locations and select the option New Location.
- A new window will be opened. Fill in the required fields. The location name will be New York.

note_pin
Note that Holiday Schema, Working Time Schema, and Time Zone are fields required for the location configuration. The time zone is important if the company has offices located in several countries with different local times. For more information about these configurations please refer to Working Time and Calendars.
- Create the branches.
Select the element on which you would like to create the dependency, right-click, and select the option New Location.
We will create the dependencies for the New York office: Miami and Los Angeles branches.
Right-click the New York location, select the option New Location and fill in the required fields.
The final view of the Locations is displayed below:

Creating Roles
Suppose our Sales Department carries out a Process called Sales Opportunity Management in order to handle and promote potential business sales. We have created the Sales Agent position for the people who work at the Sales Department, however only some of them can create Business Opportunities.
To identify which Sales Agents can create Business Opportunities we will use roles.
Remember that a role is a conduct carried out by a person in the organization, in this case that conduct is the Business Opportunity creation.
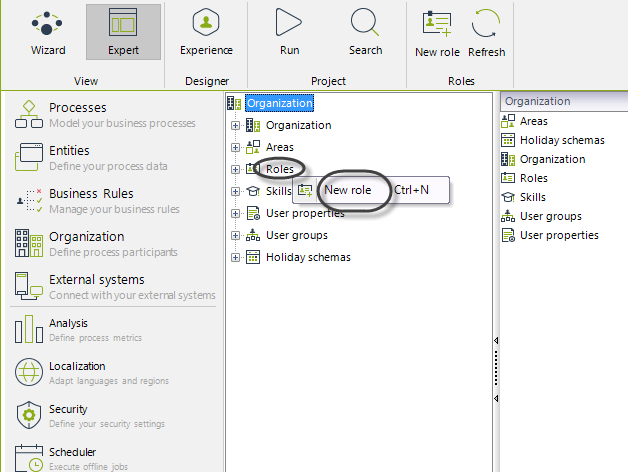
- Go to the Organizations module in the Expert view.
- Right-click Roles and select the option New Role.
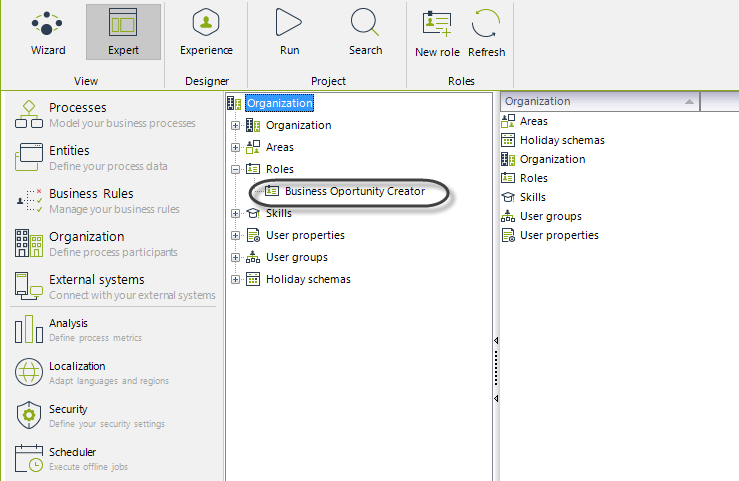
- A new window will be opened. Fill in the required fields. In this case, the role name will be Business Opportunity Creator.
Click OK.

The new Role has been created.
Creating Skills
Now suppose the whole organization performs a Process called Emergency Contingency Planning where the main potential emergency situations that can arise are identified and resources are assigned in order to face them. Those resources are allocated according to particular skills that the employees have.
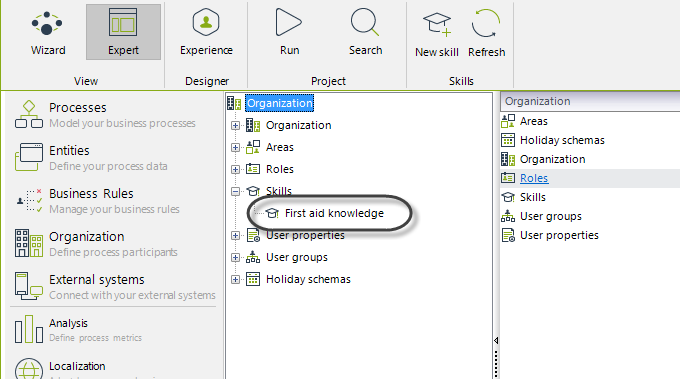
The First Aid Group will be conformed by all the employees that have First Aid knowledge so they have to be identified through a Skill.
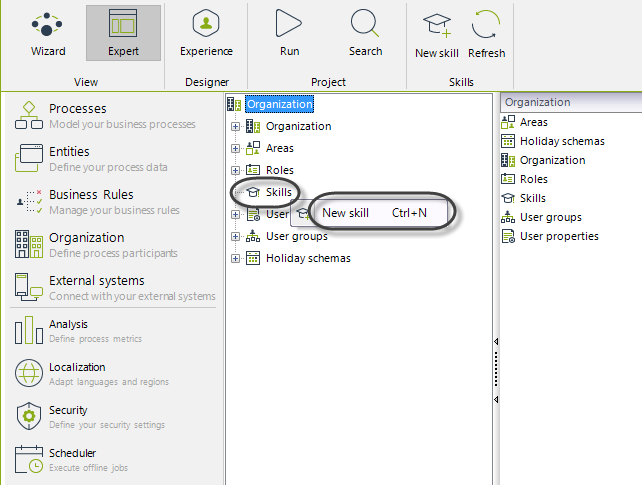
- Go to the Organizations module in the Expert view.
- Right-click Skills and select the option New Skill.
- A new window will be opened. Fill in the required fields. In this case, the skill name will be First aid knowledge.
Click OK.

The new Skill has been created.